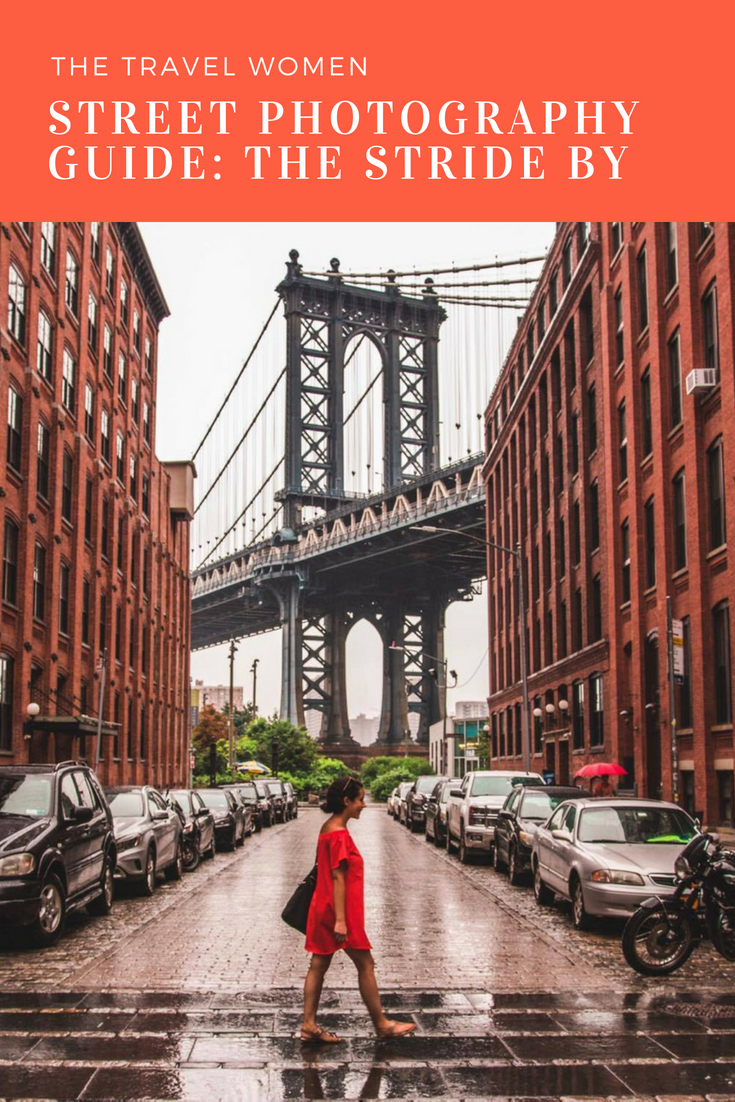
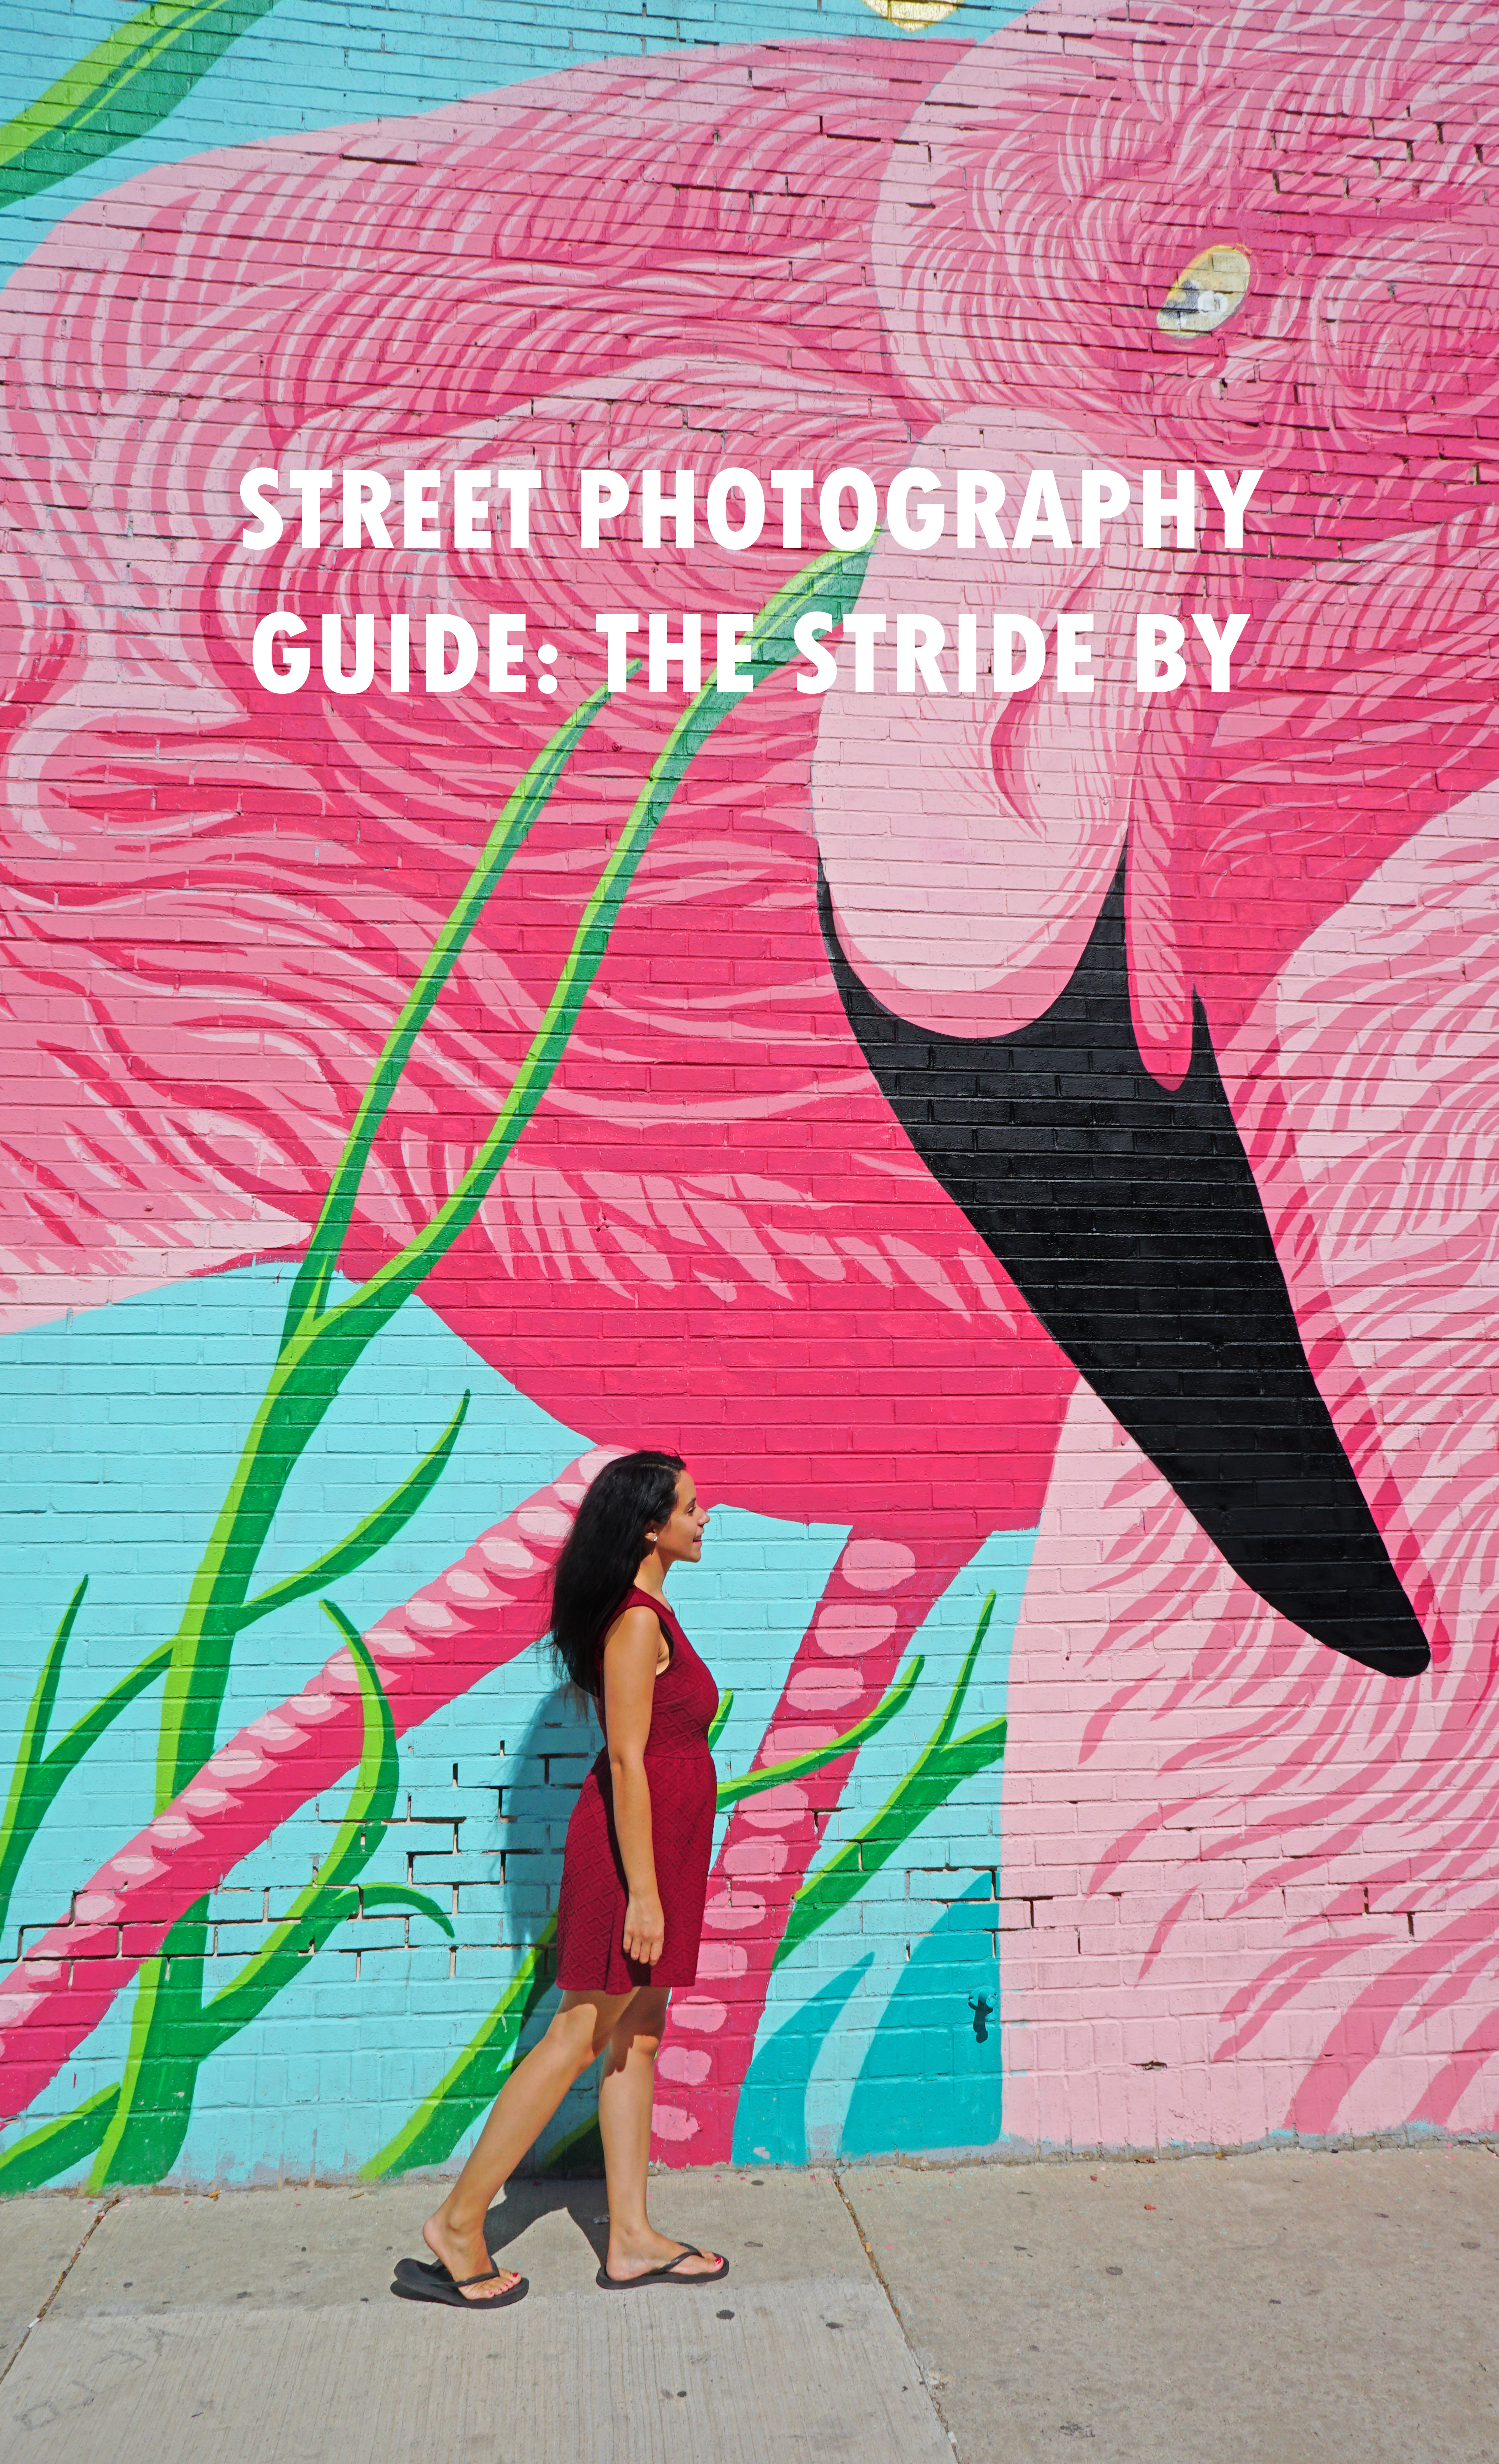
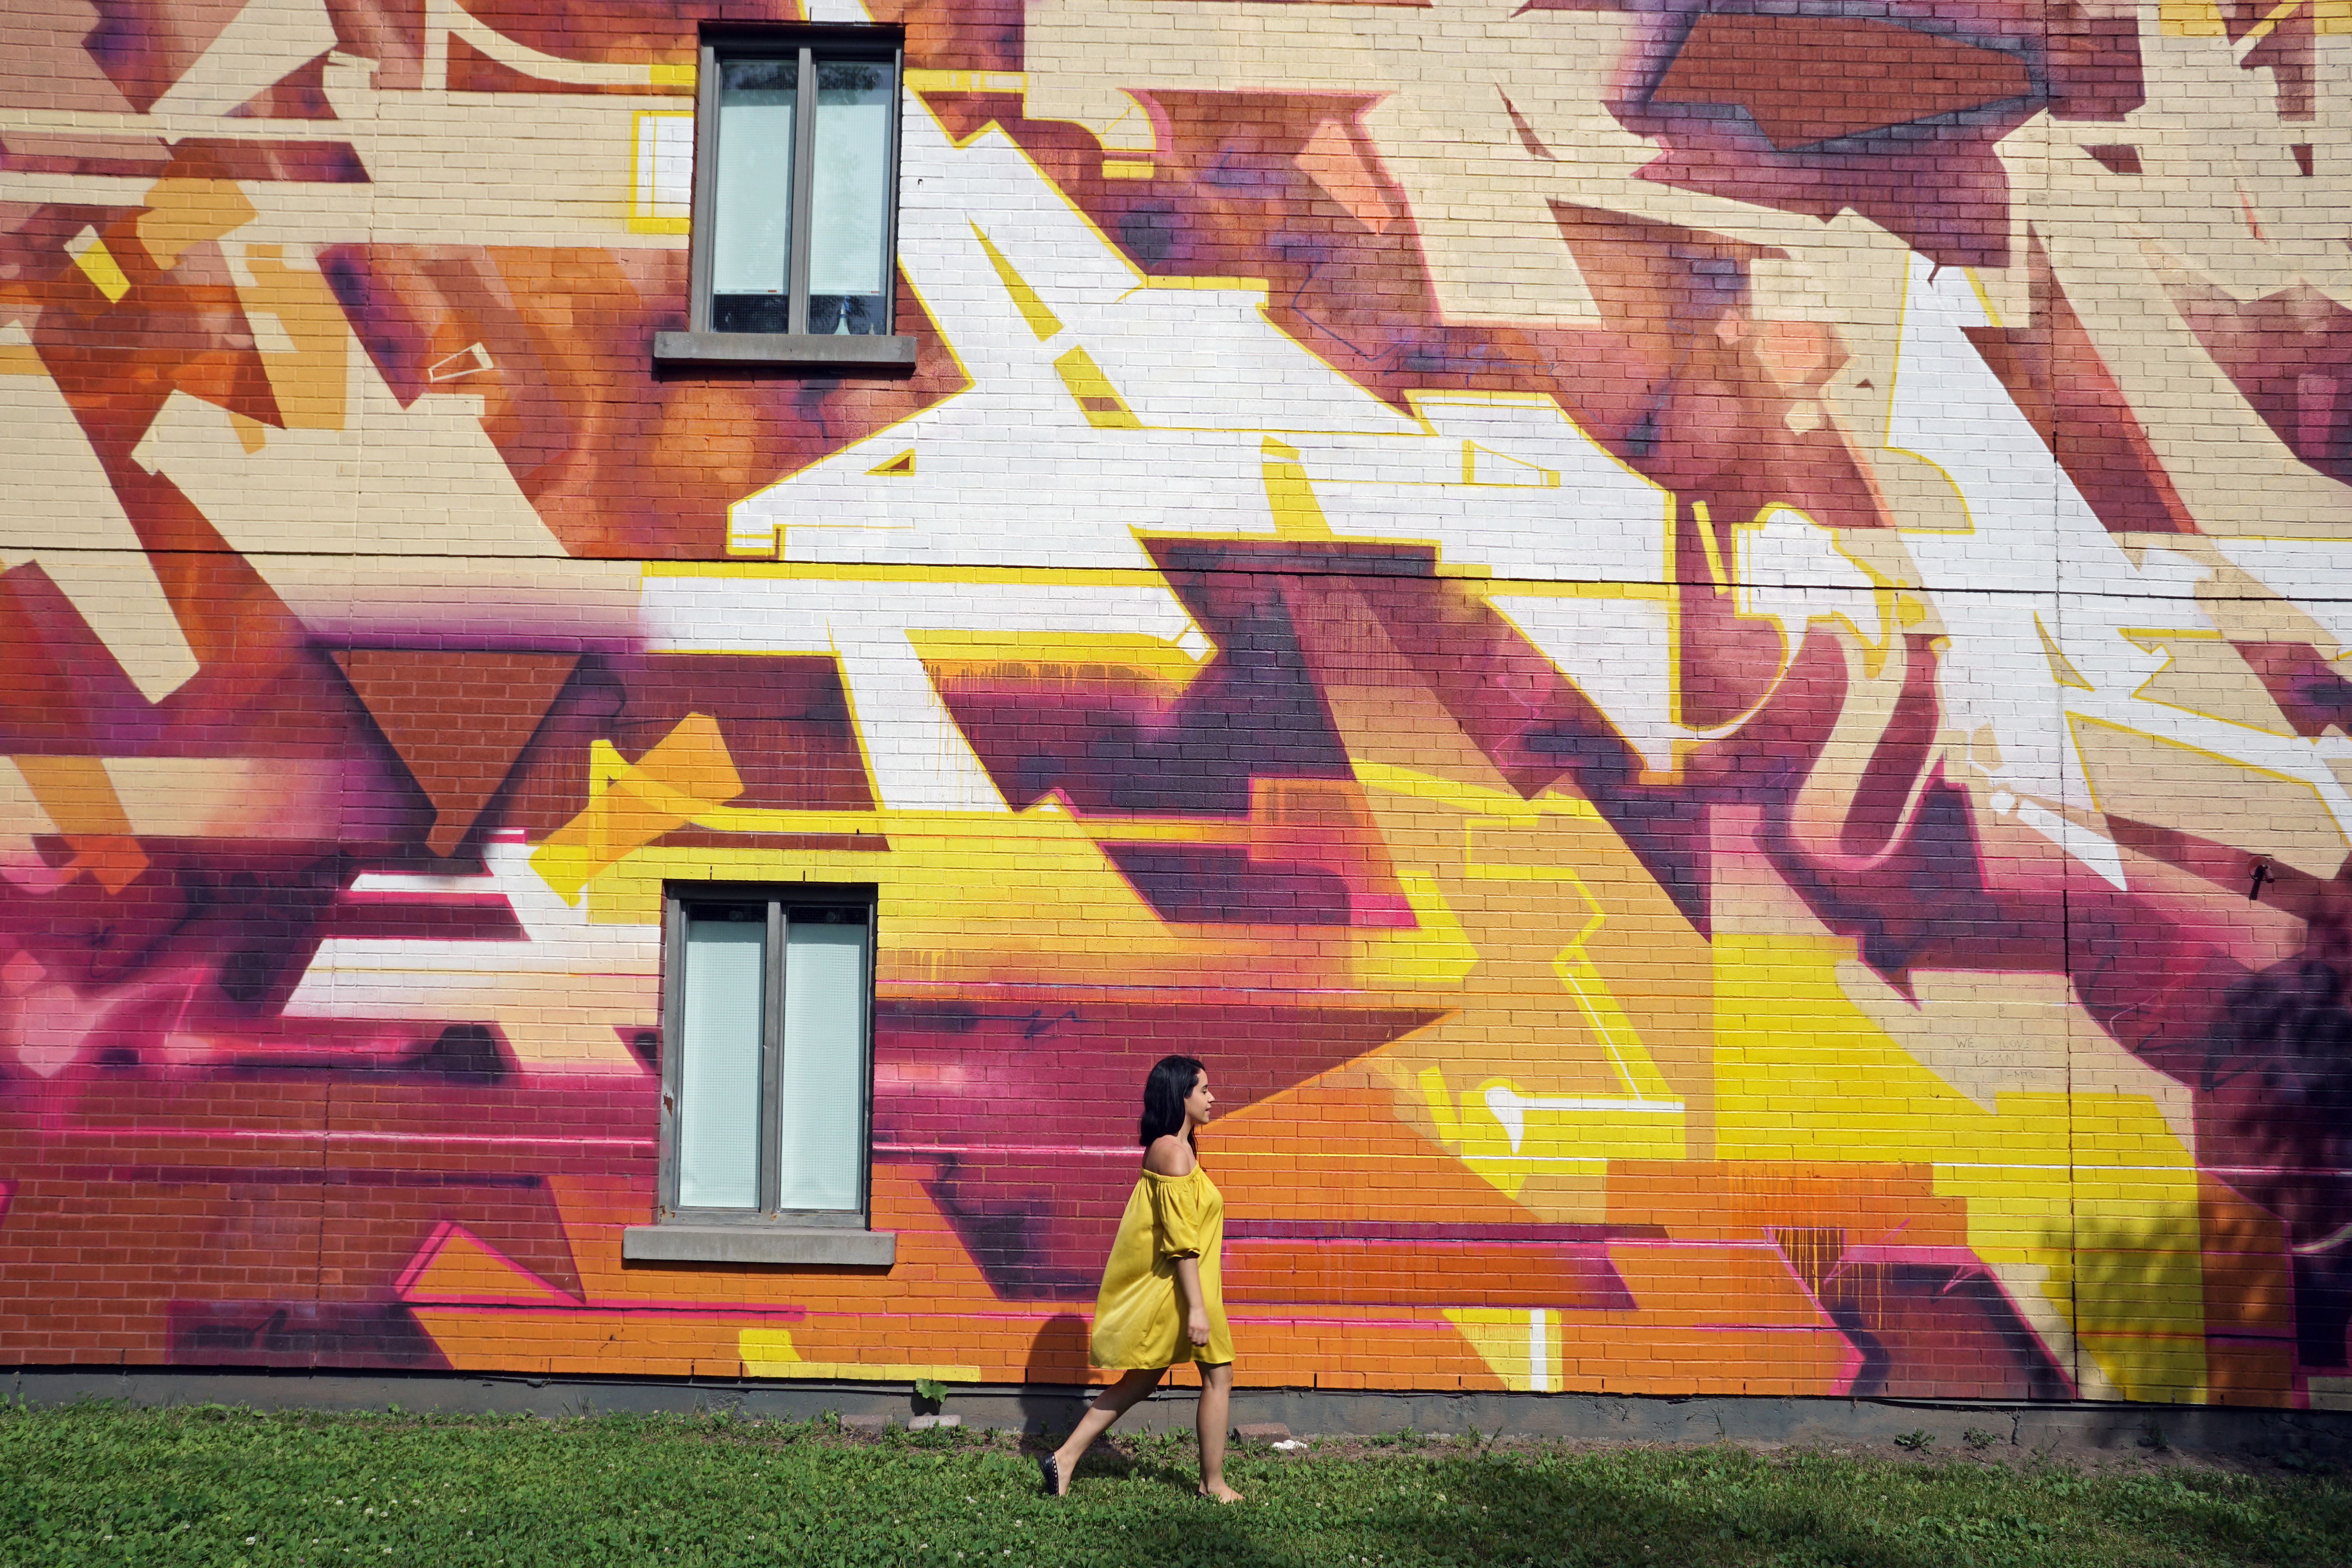
Street Photography’s most popular photo style is often the “stride by” shot of someone frozen mid-stride walking in front of an iconic or colorful street art background with their legs forming an almost equilateral triangle. So how do you take the perfect stride by shot? Read on for the only article and video guide available on this popular stride by shot, sharing tips and tricks you can use with any camera or phone to capture amazing photos of locals, friends or even yourself with a tripod and timer or remote!
There are so many types of shots you can capture in front of murals or street art so feel free to use these as guidelines, but get creative and of course do not forget to tag us with #TheTravelWomen so we can see your photos!
Table of Contents
1. Composition and Lighting:
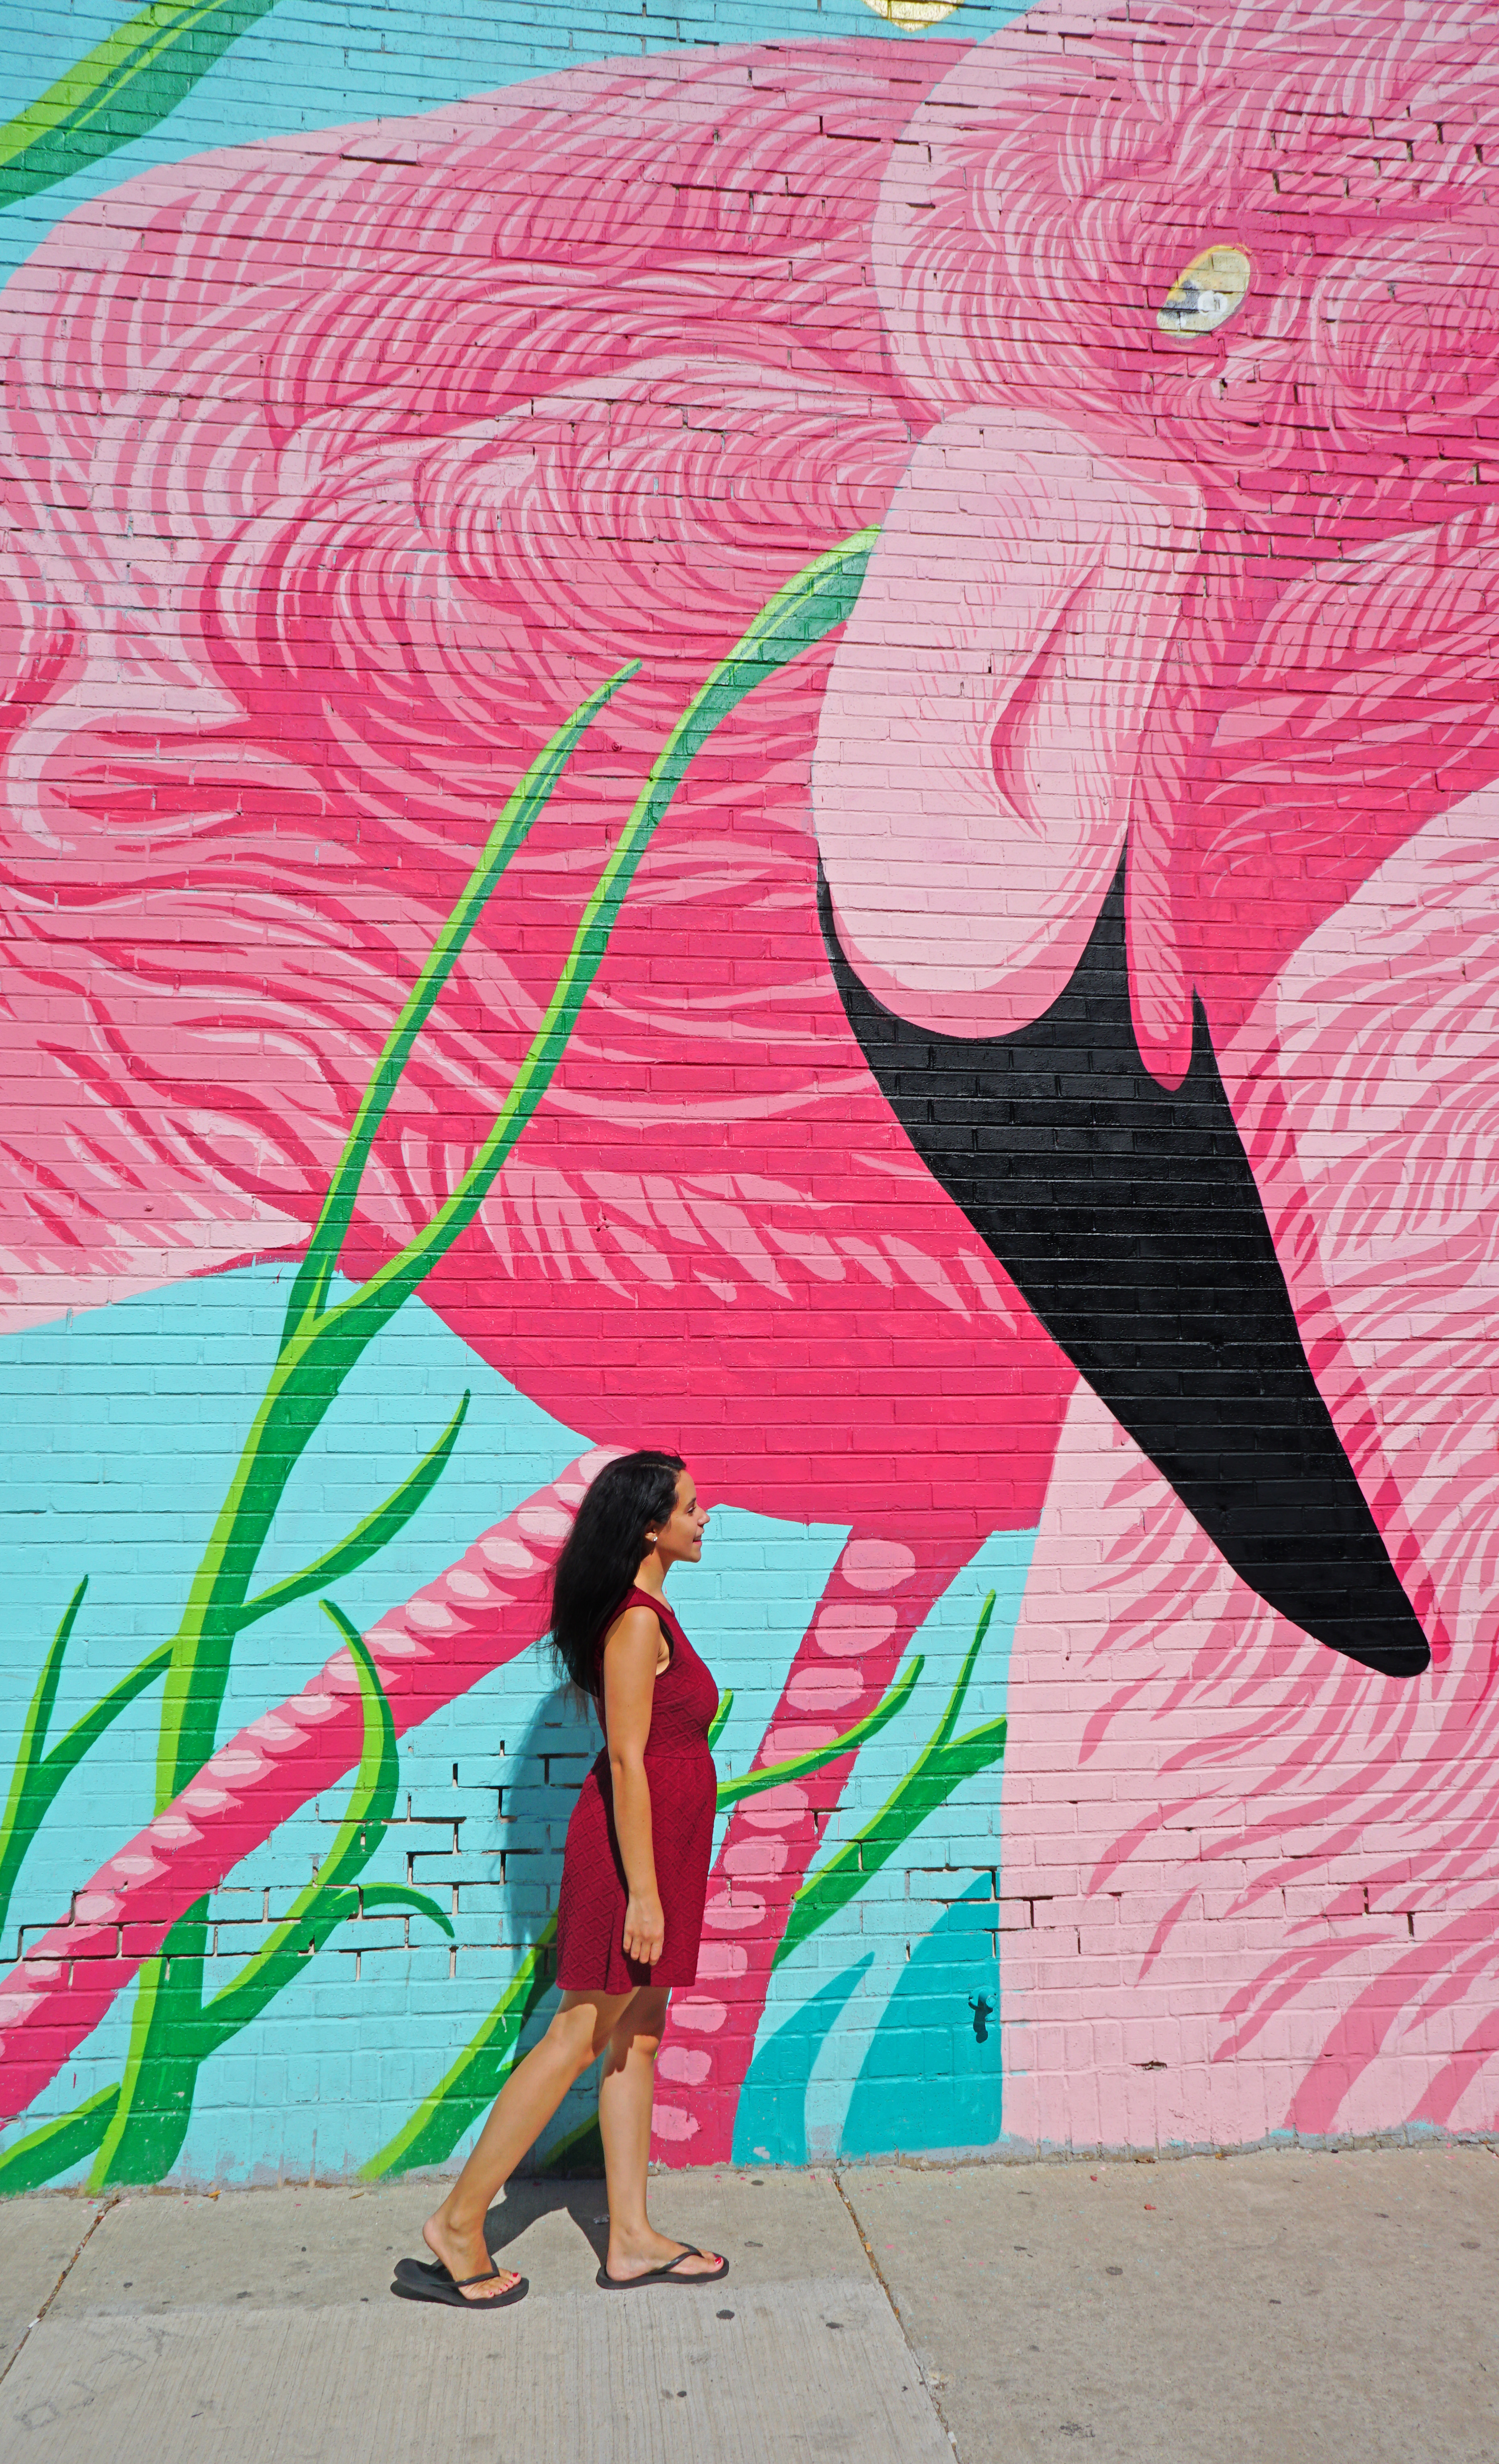
Which part of a wall is the best backdrop? Before you figure out subject placement, get to know the composition and natural surroundings. Are there trees or garbage you want to cut out of the shot? Which direction is the light coming from, are there shadows helping or hurting the composition? If you have more time can you come back when the lighting is less harsh? Which part of the wall do you find the most visually appealing? Do not cut off the most important or interesting parts of a mural. If there are flamingos on the wall, do not cut off the head of the flamingo! Be purposeful about which parts of the wall or colors you include in the shot.
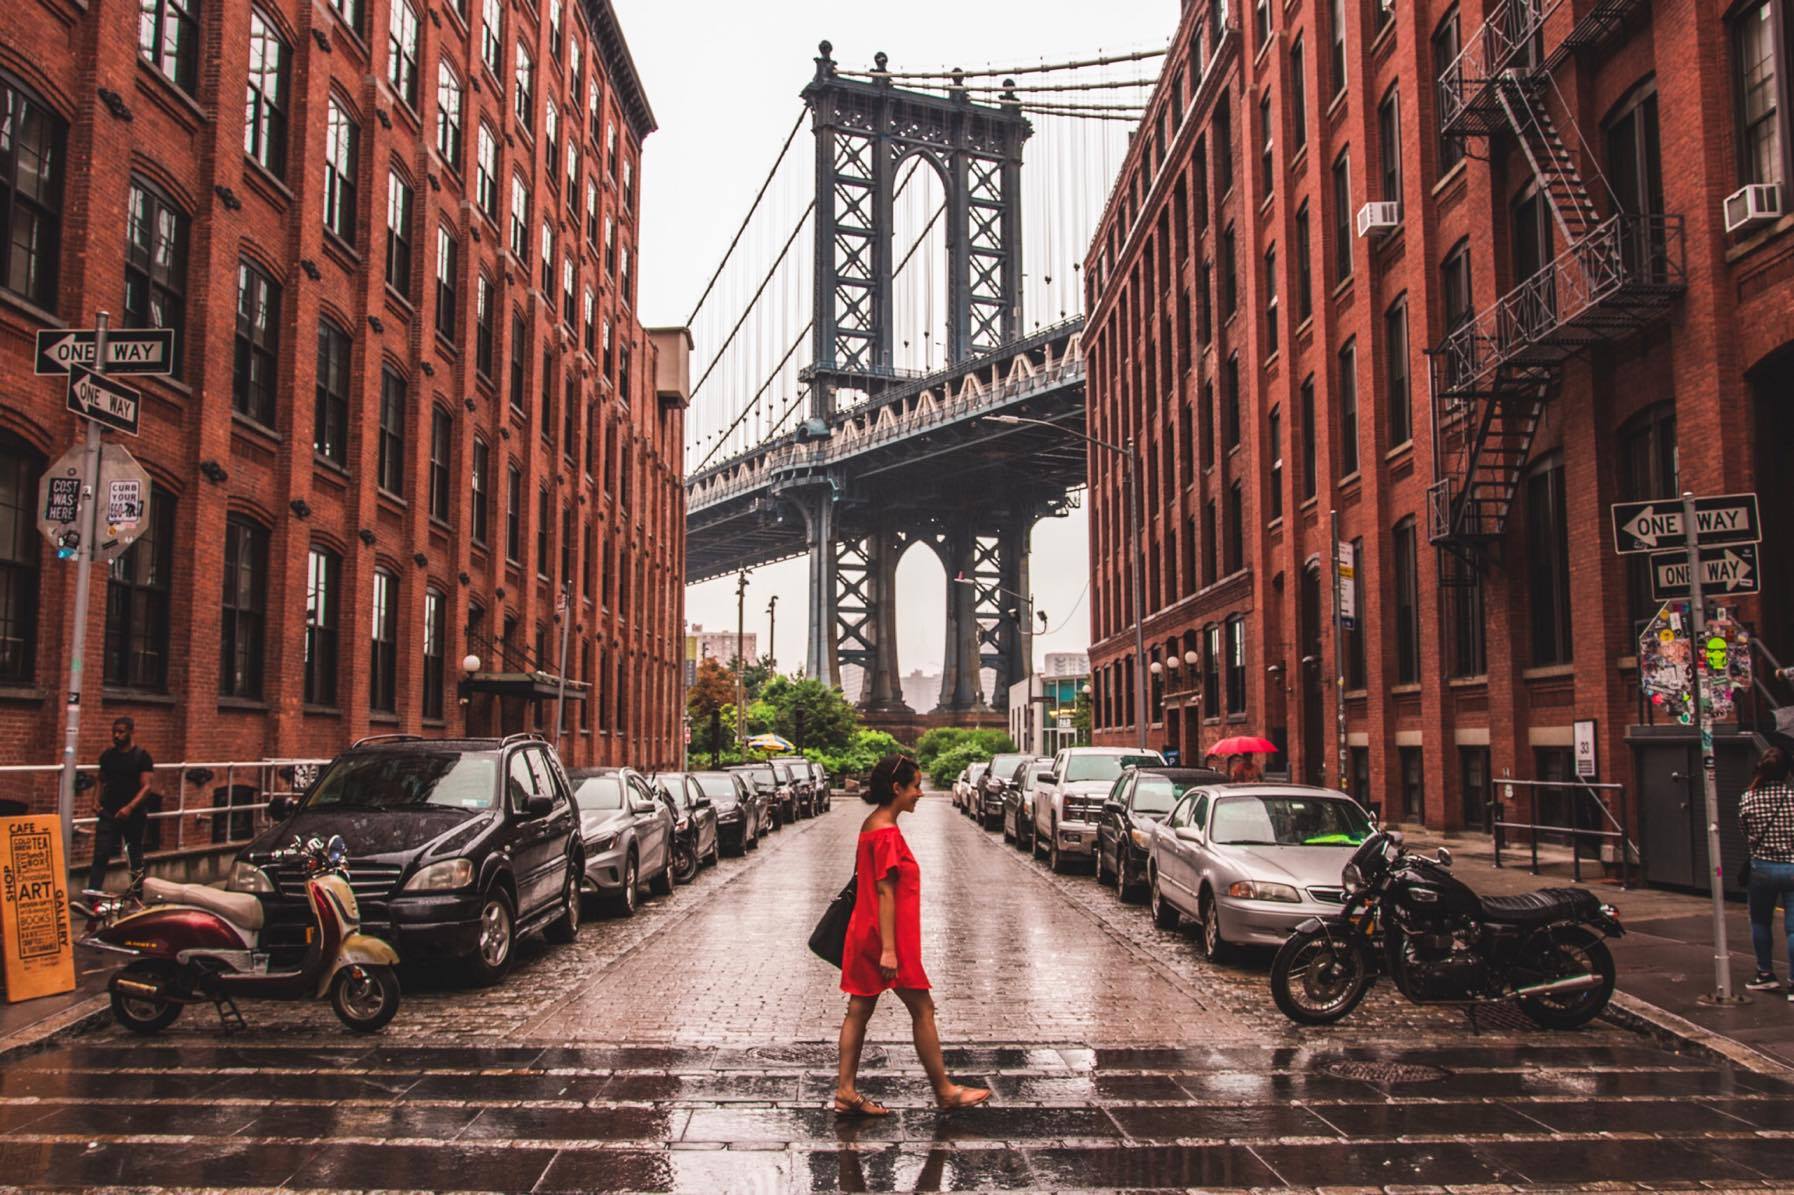
2. Framing the subject:
Once you nail the composition you like best, think about the ideal placement of the subject in the frame. The goal is to capture them mid-stride when their weight is not fully on one leg but centered, balanced between legs. If the subject is wearing one color put them in front of a different color so that they stand out and do not blend into the wall. When in doubt put the subject in the center. Centering in a square Instagram format, for example, always does well!
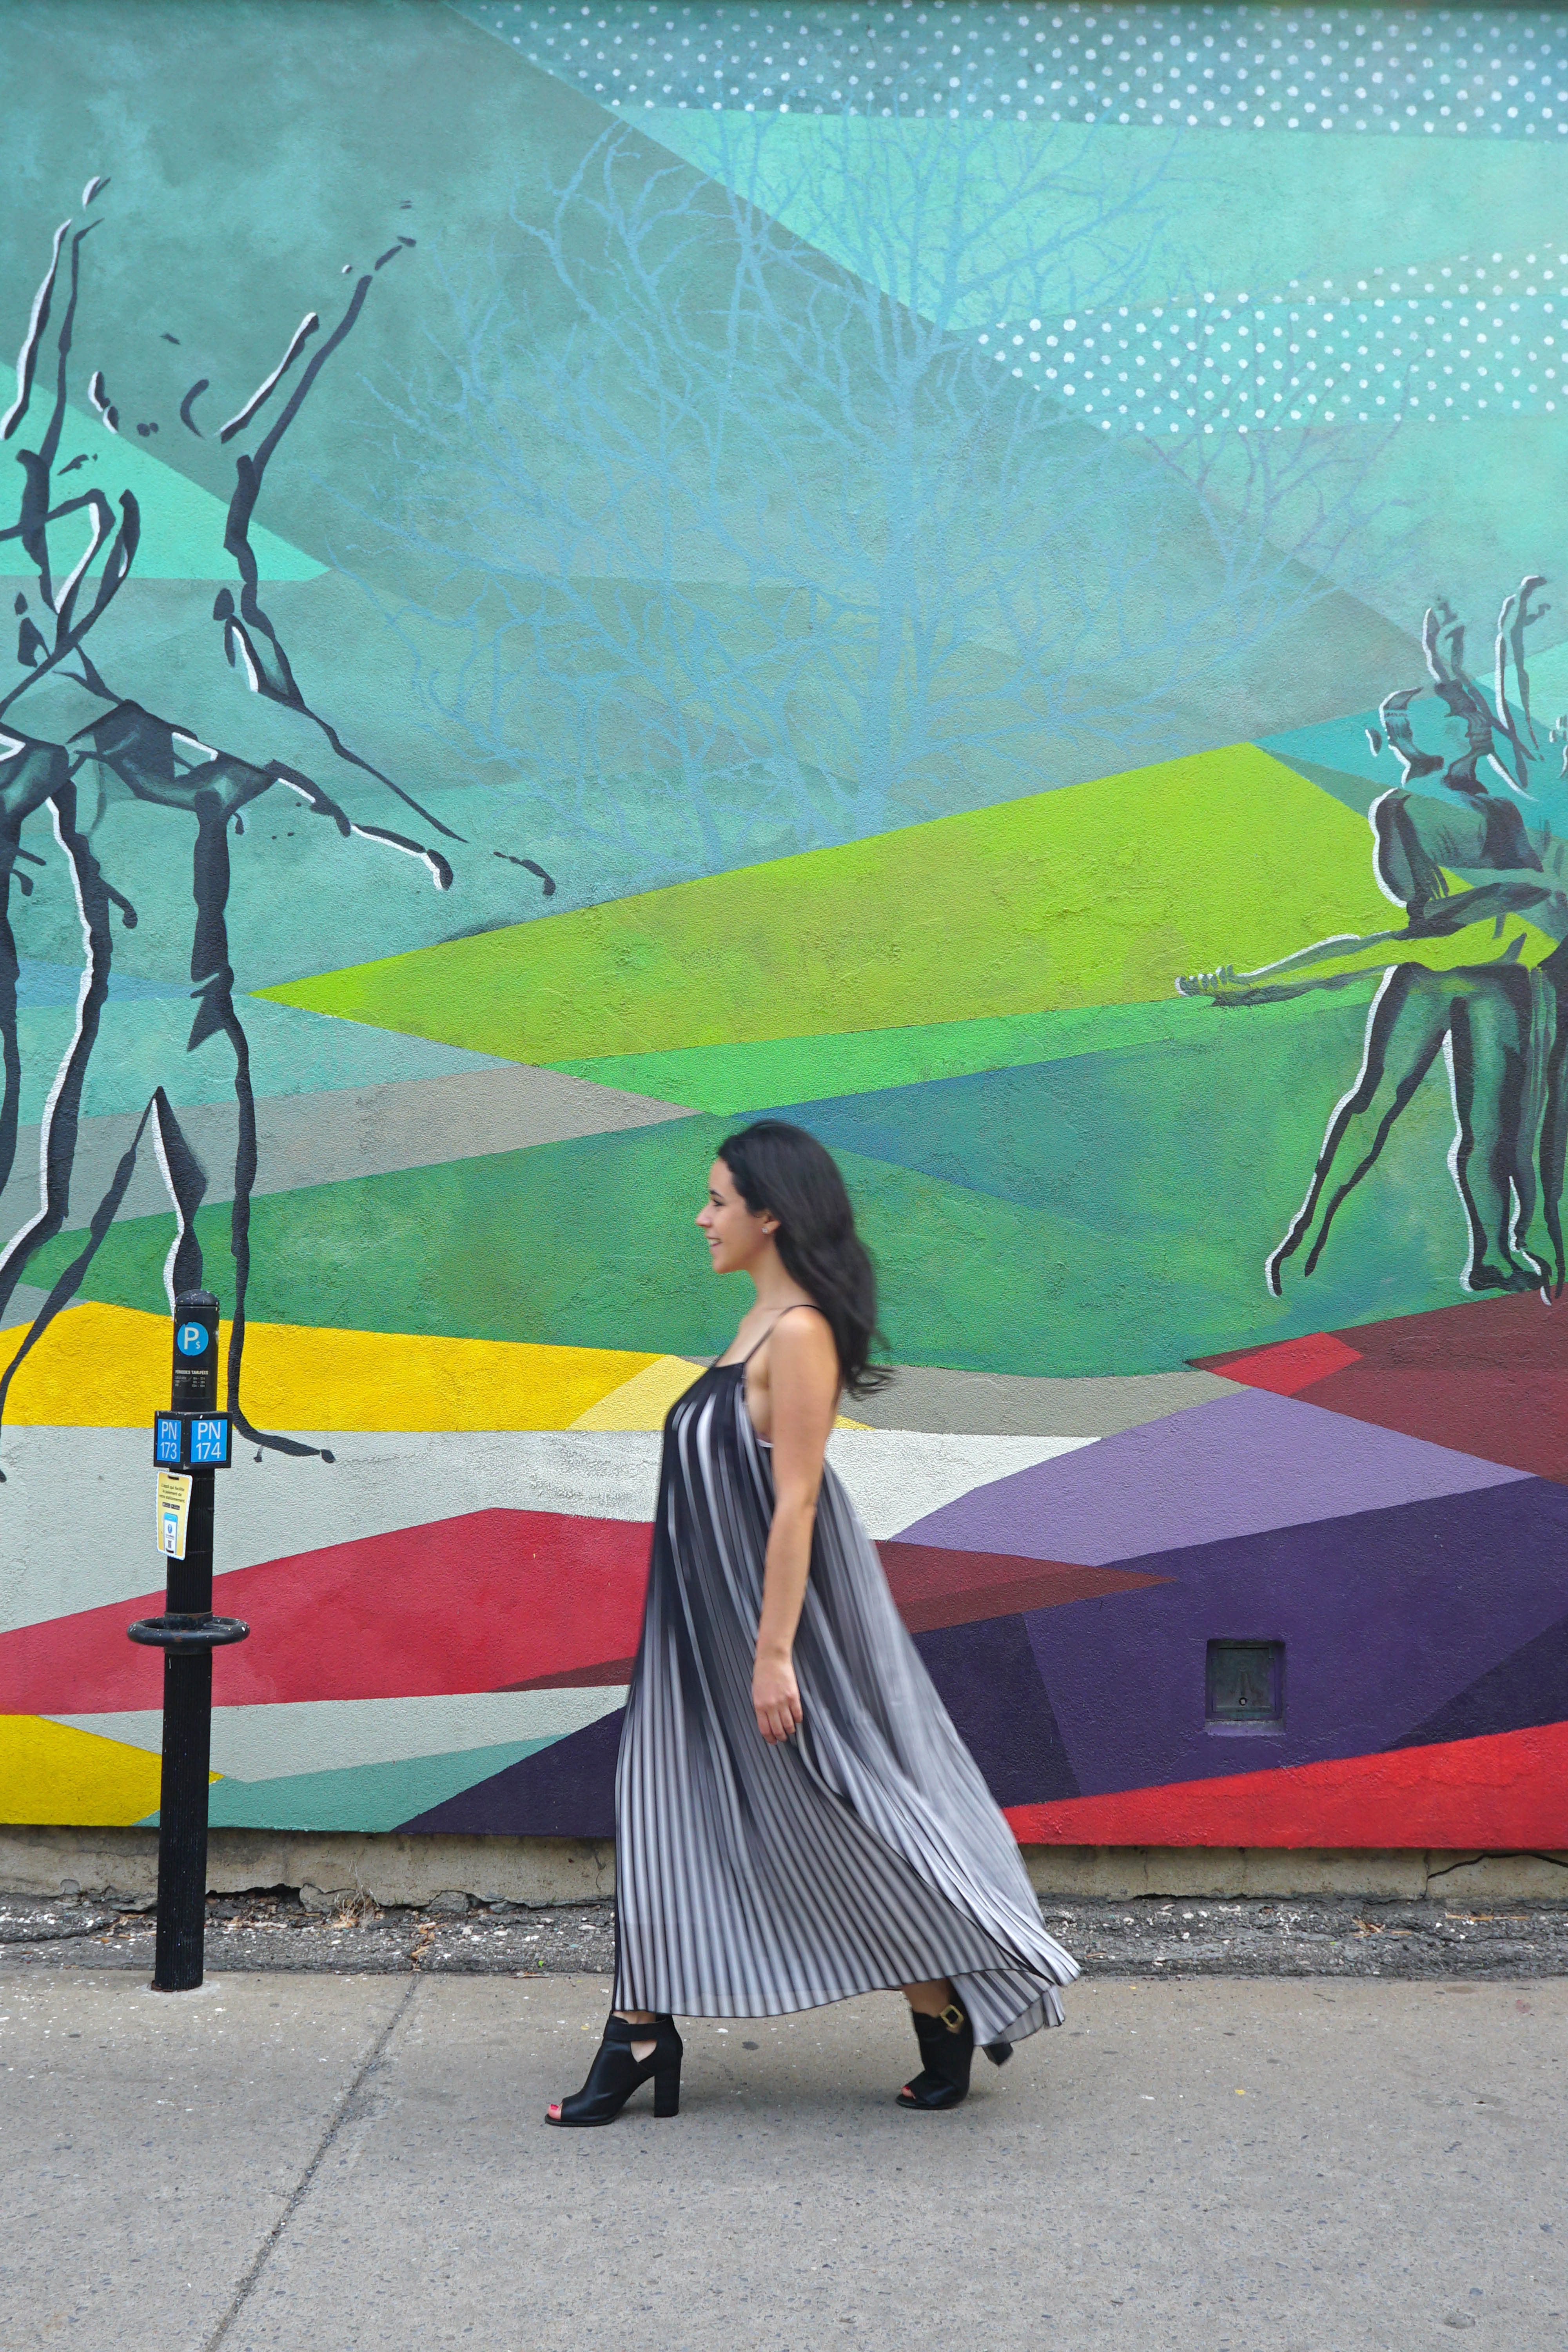
3. Distance:
We are not talking about portraits, that is another type of shot completely! For the perfect stride by photo, you want to have some separation between the camera and the subject. The distance to the wall is crucial. You want the person to be smaller so that you see more of the wall. I prefer using a wide-angle lens and taking about ten steps back, so the subject is not too big and not too small.
4. Avoid amputation:
Please never, under any circumstances, cut out a limb or part of your body in a shot! Do not cut off your feet in favor of showing more wall or sky.
5. Keep moving:
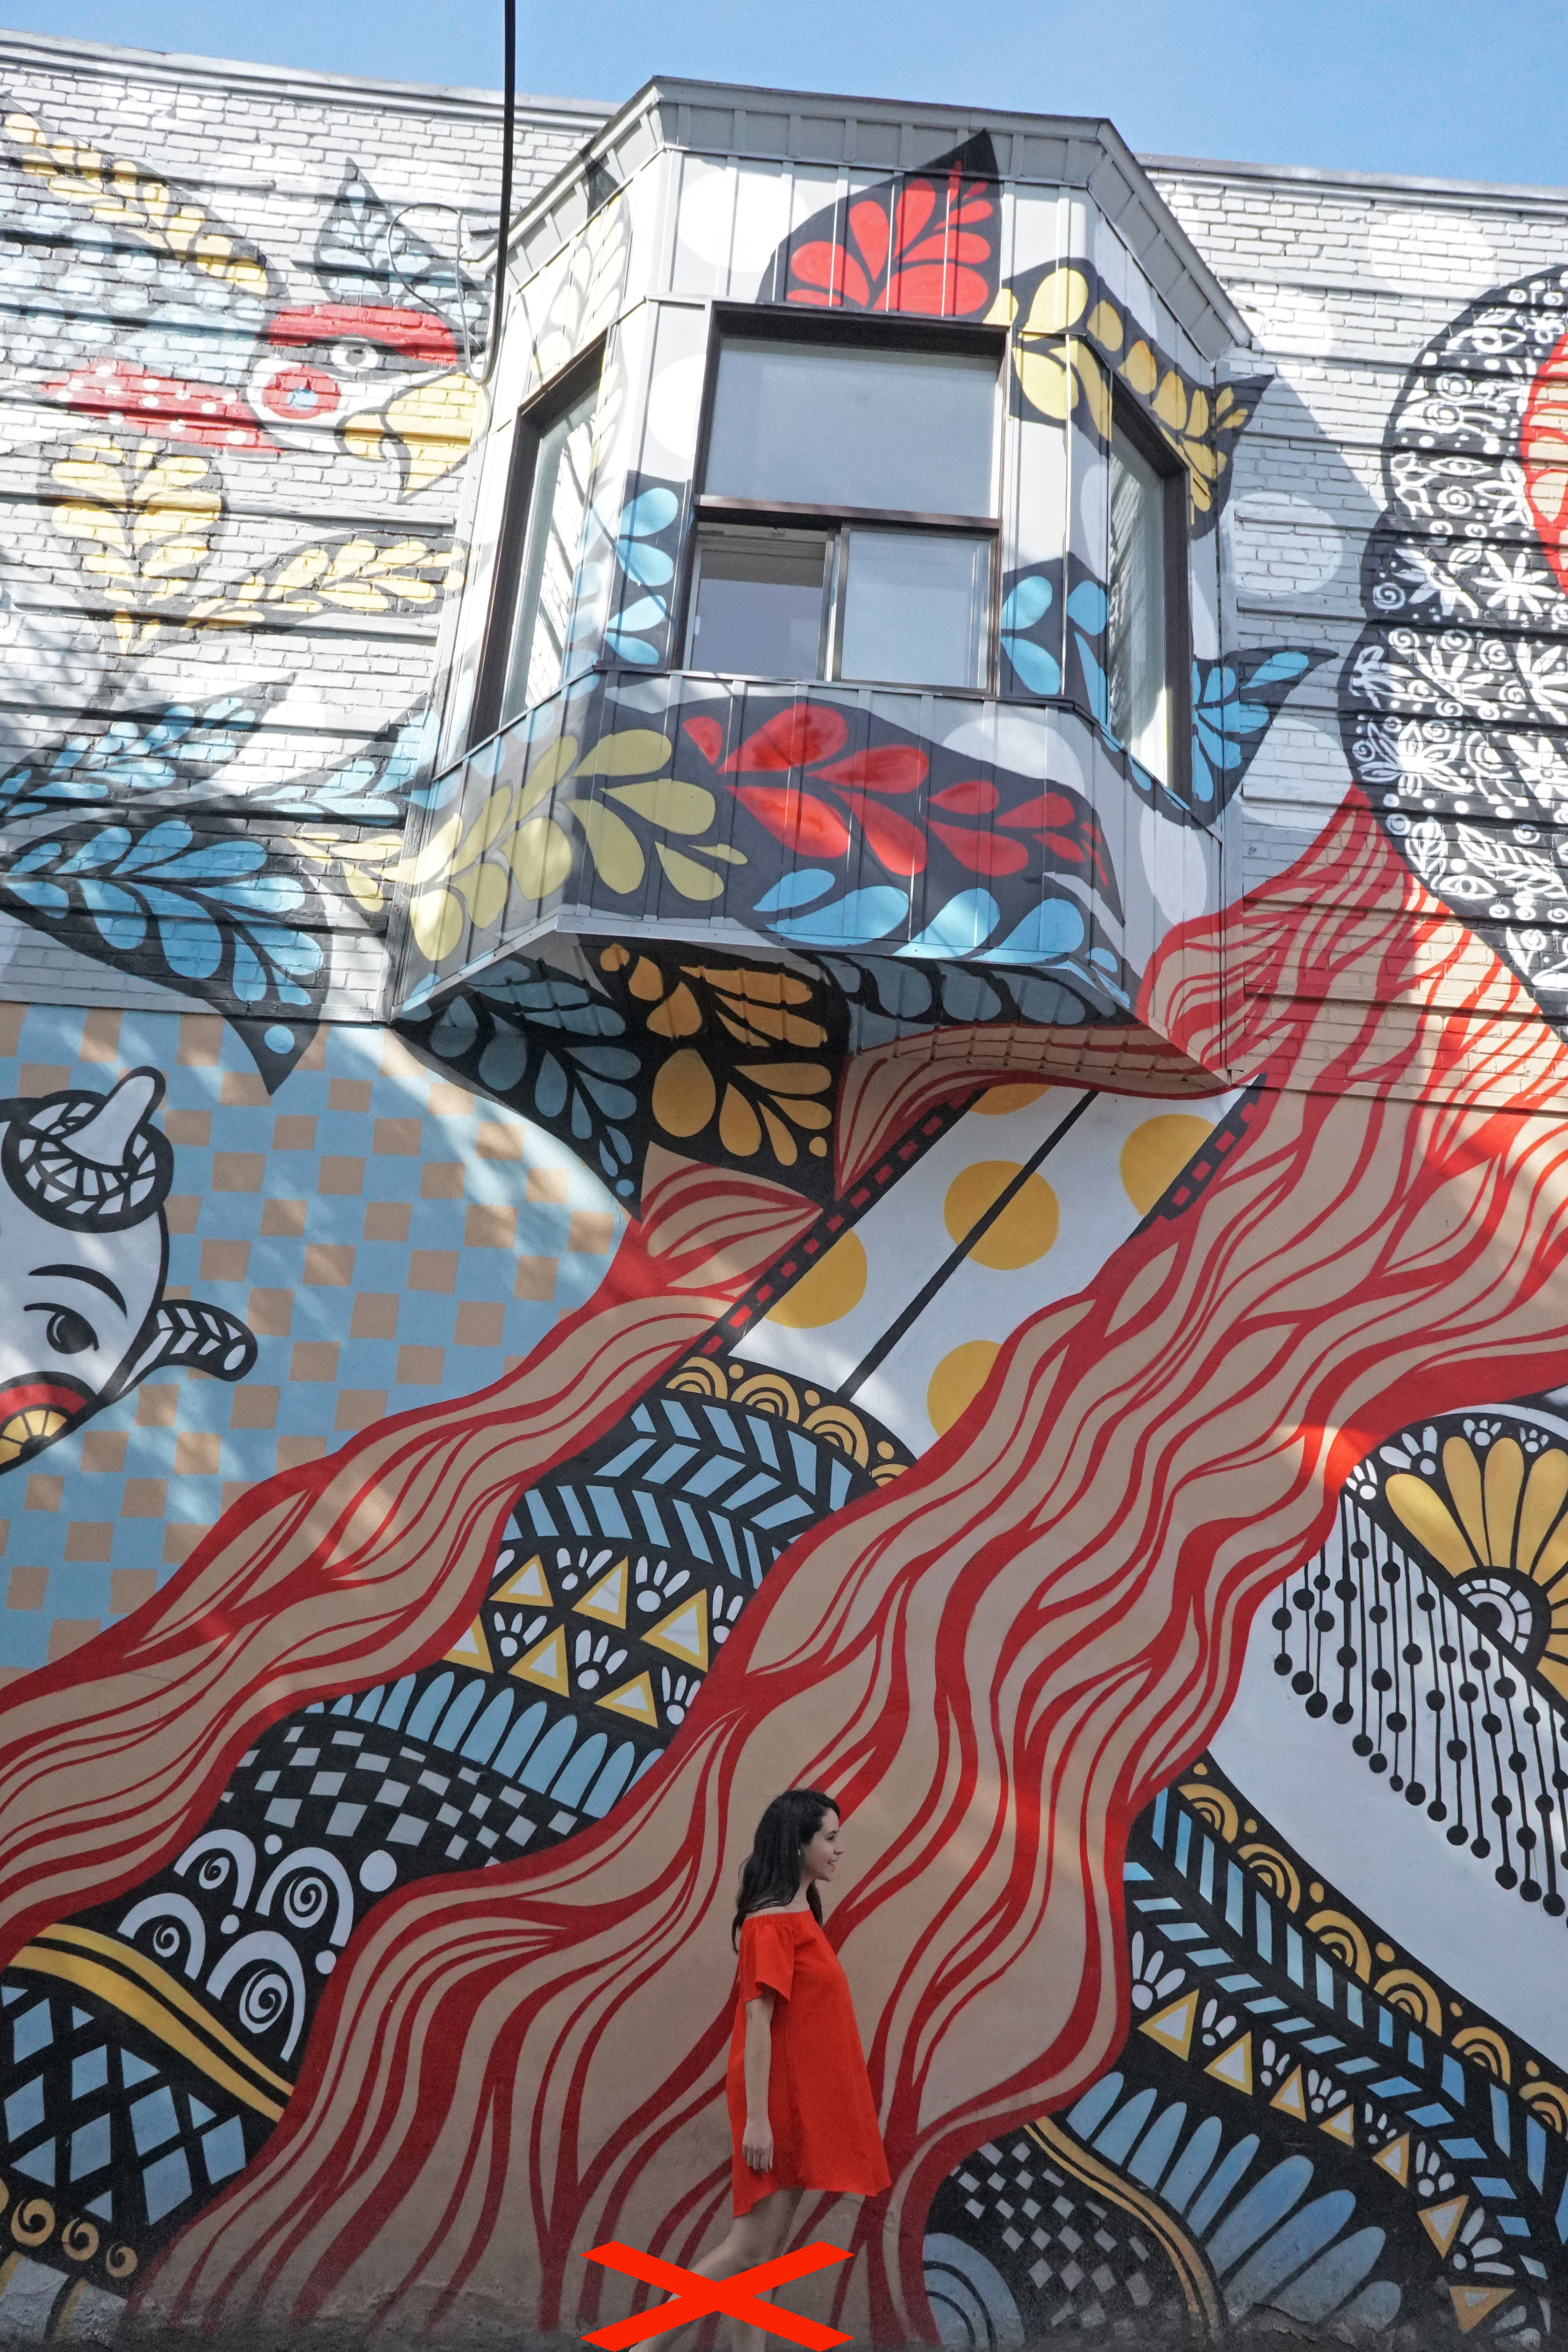
It helps if the subject is always in motion. If you are posing for a stride by shot, avoid standing still as it can look too staged! Keep your head up, try not to look down at your feet. The ideal stride by shot captures someone with their body weight balanced in the center of their two legs that form an equilateral triangle with the ground. Note how the photo example below has too much weight on one leg, which would have been easier to avoid if you keep moving! Find where you want yourself or your subject to stand and then pause there to memorize the center placement and then step a few steps back and forth. If you have limited time, even just back and forth in place, some movement is always better than none!
6. Shutter speed:
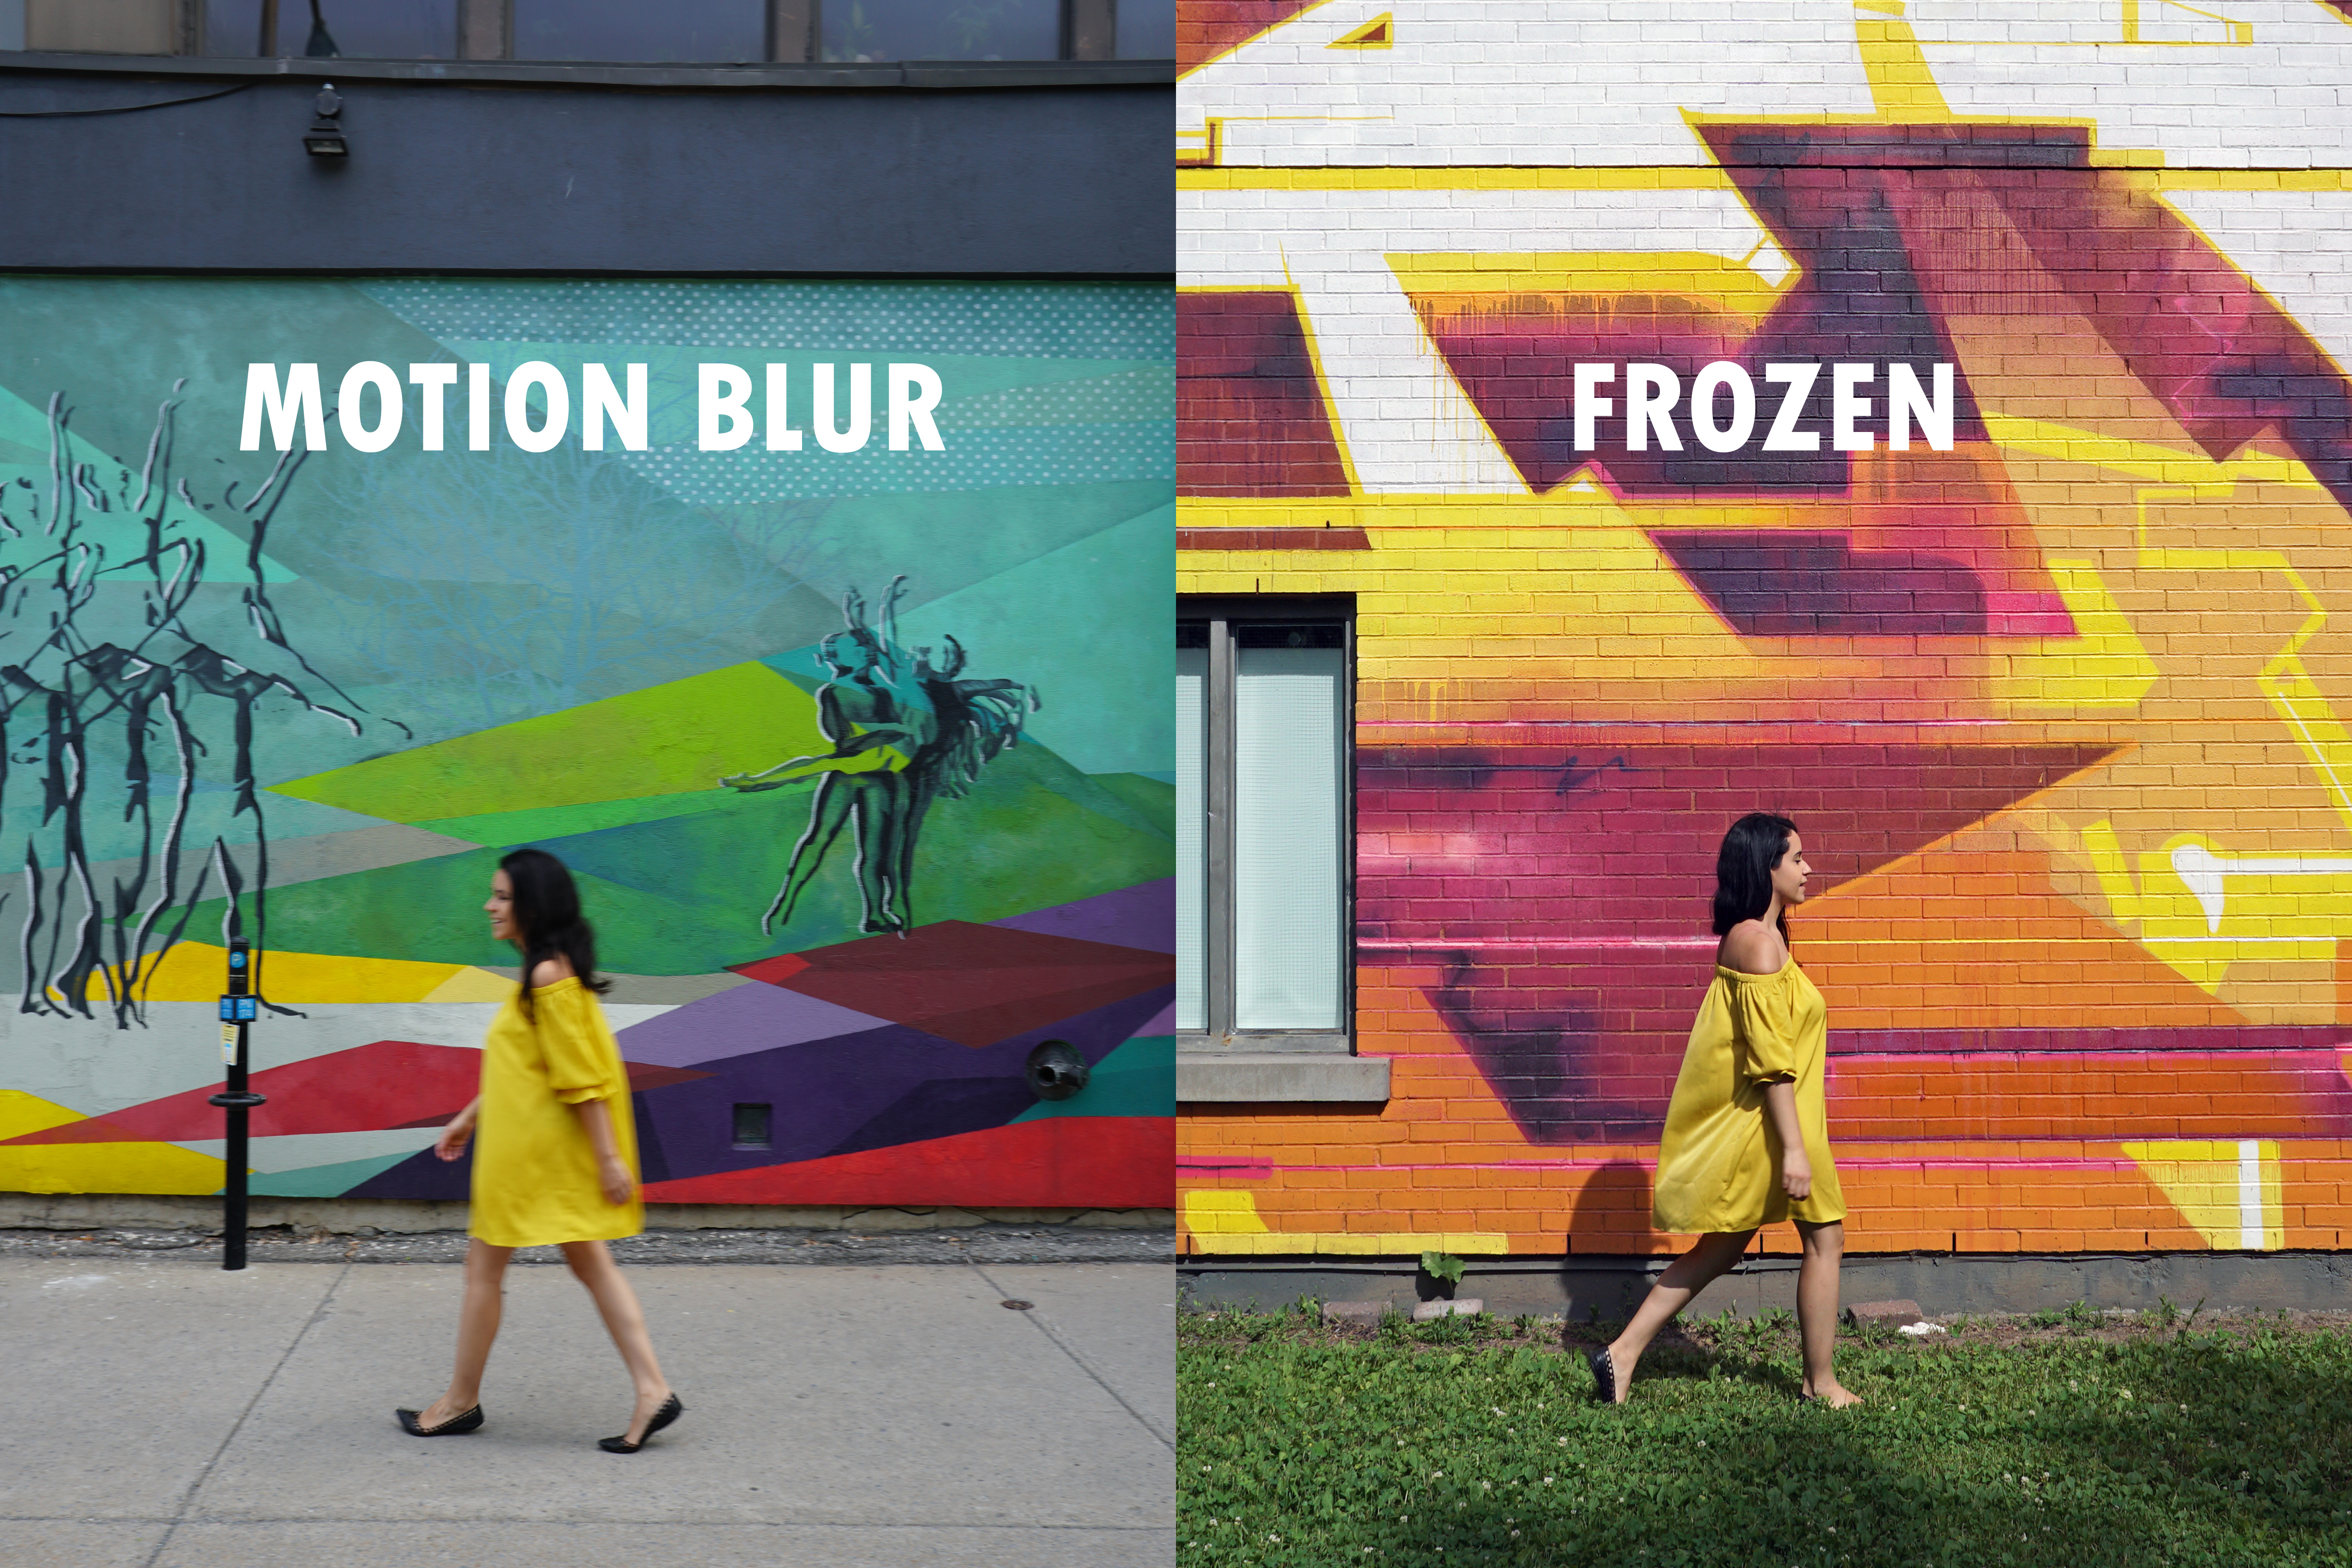
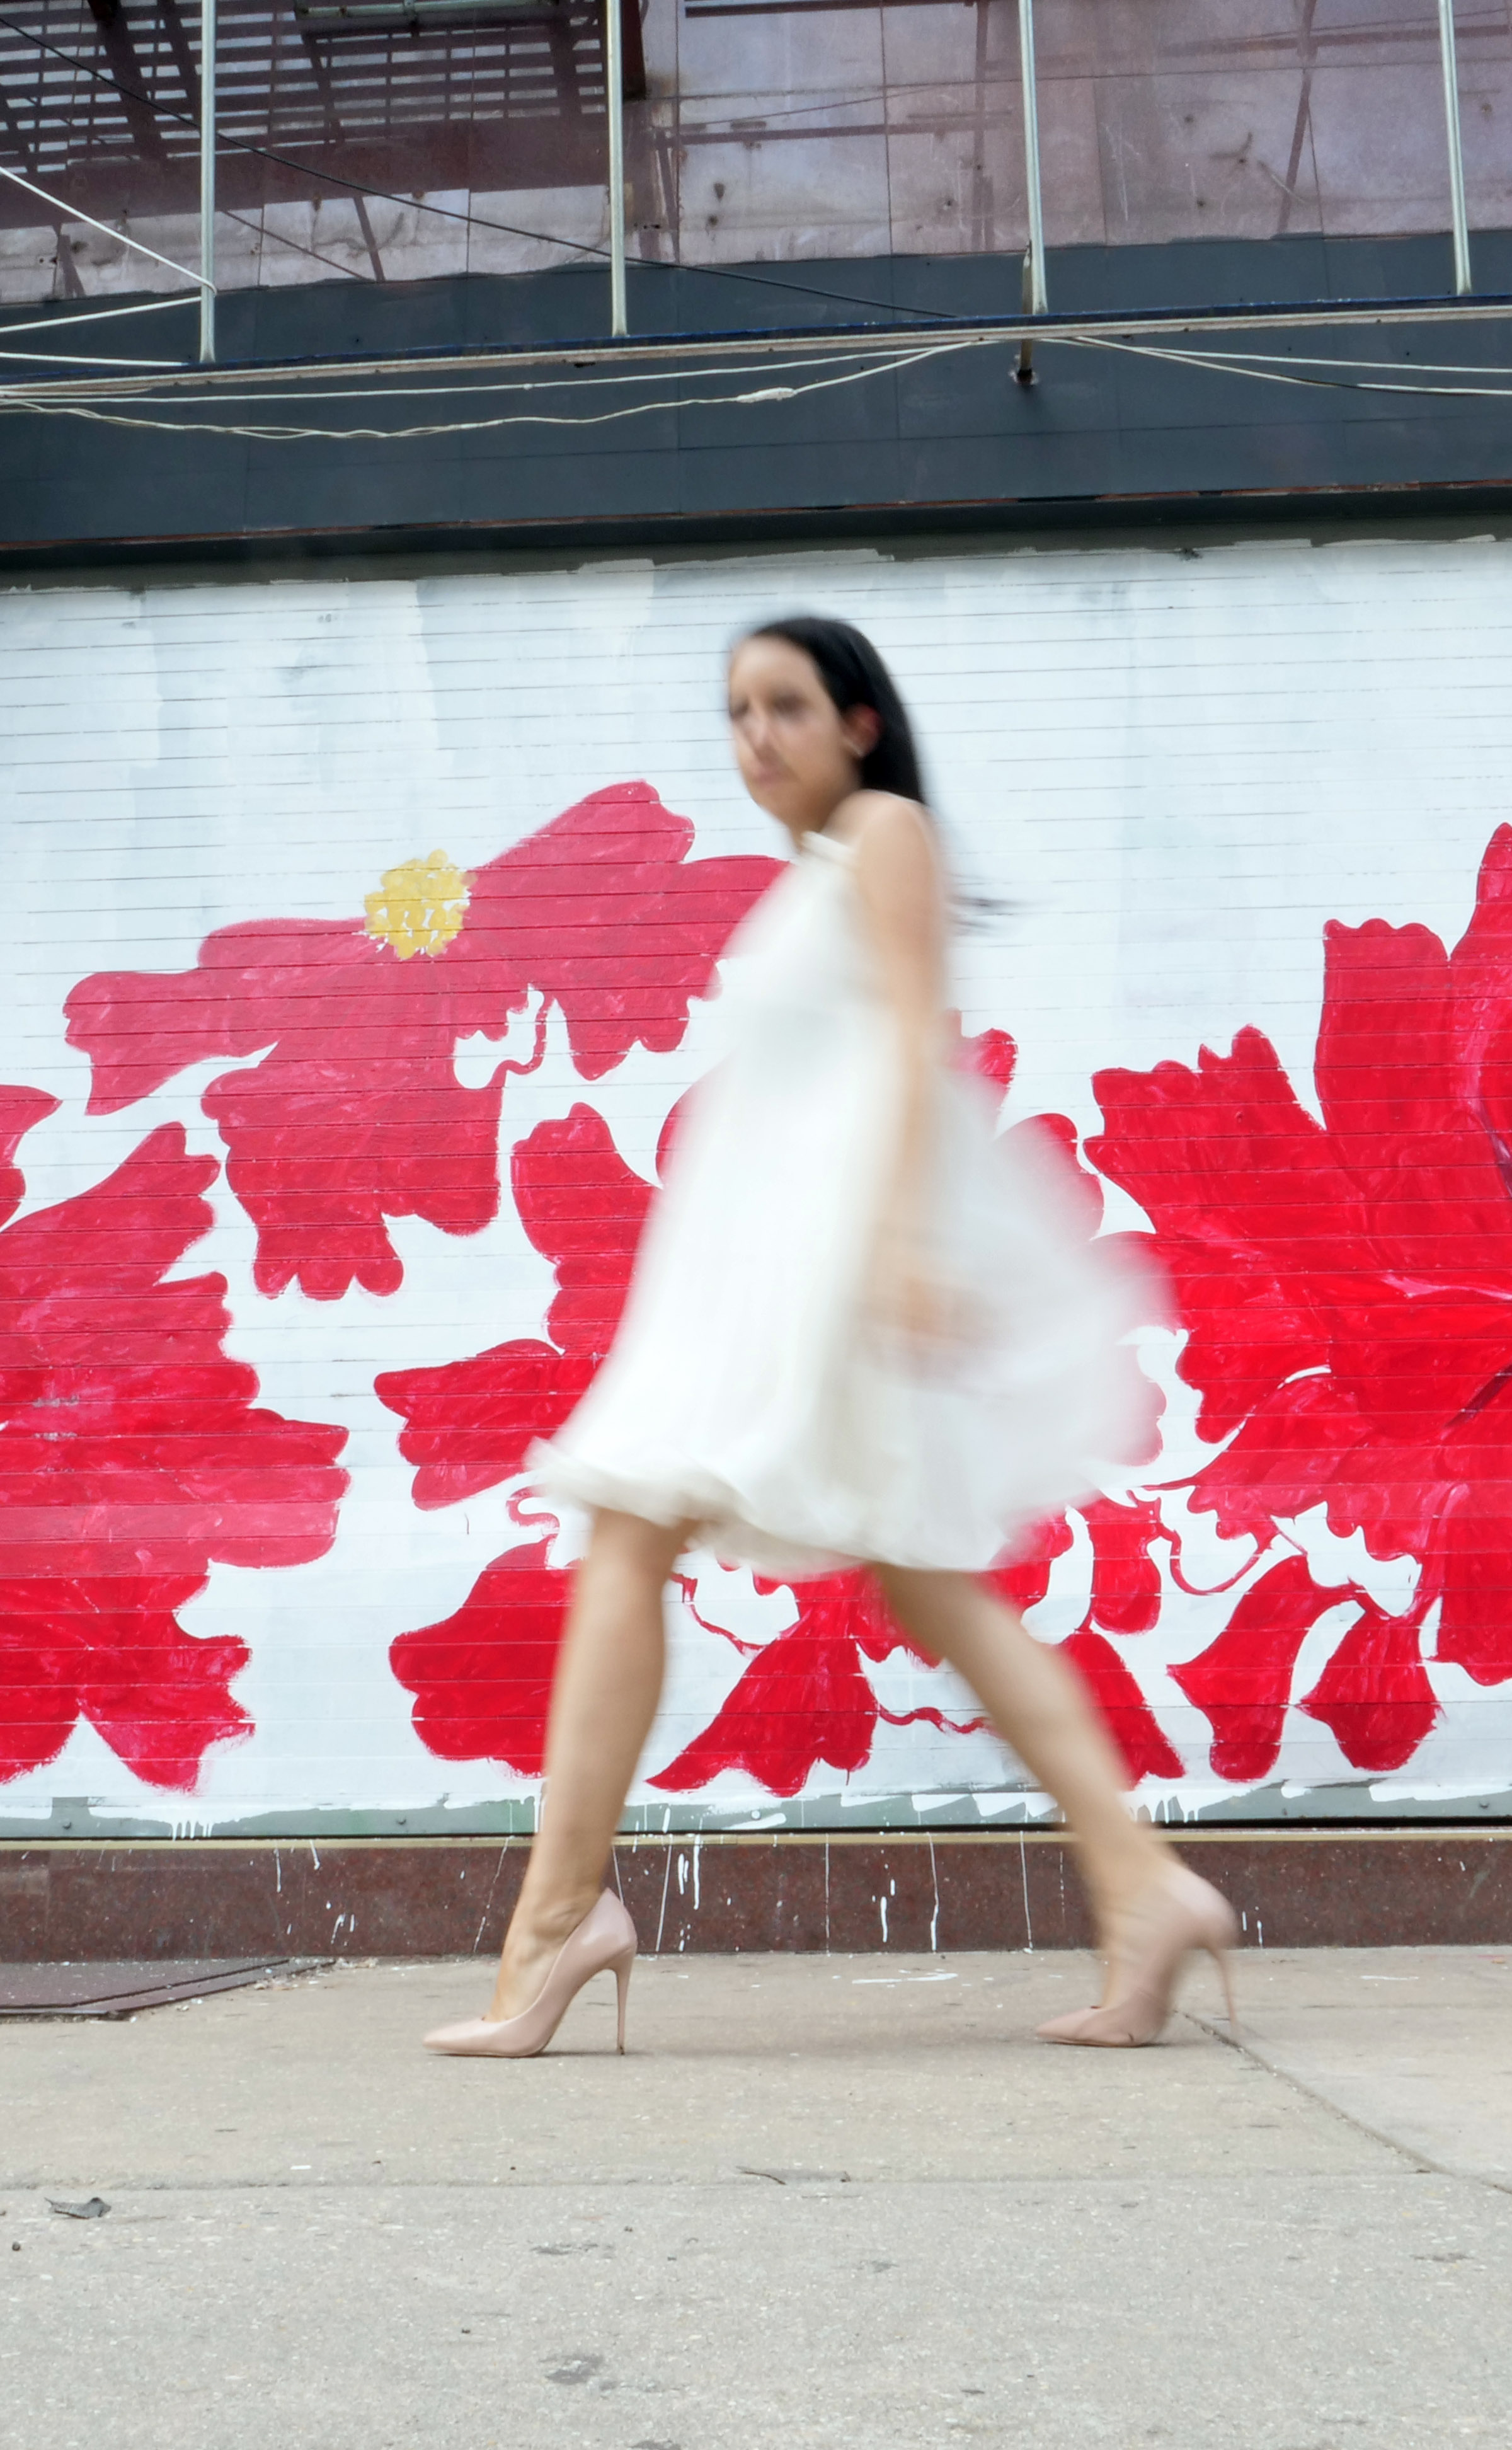
Do you want the subject frozen in place or do you want to show some motion blur? Traditionally a stride by utilizes a fast shutter or on a phone – burst mode to capture the movement frozen in place. Be creative and keep the shutter open just a little bit longer than you normally might to show the subject in motion. This can also be a great way to show a city’s business during times like rush hour.
7. Matching:
Bonus points if your subject matches your wall or you plan your outfit ahead of time. I love when a pop of color like a red sneaker on a wall with red in it. Again, try to avoid blending in completely, do not wear a yellow dress on a full yellow background, but instead look for a wall with small pops or highlights of yellow.
8. Props:
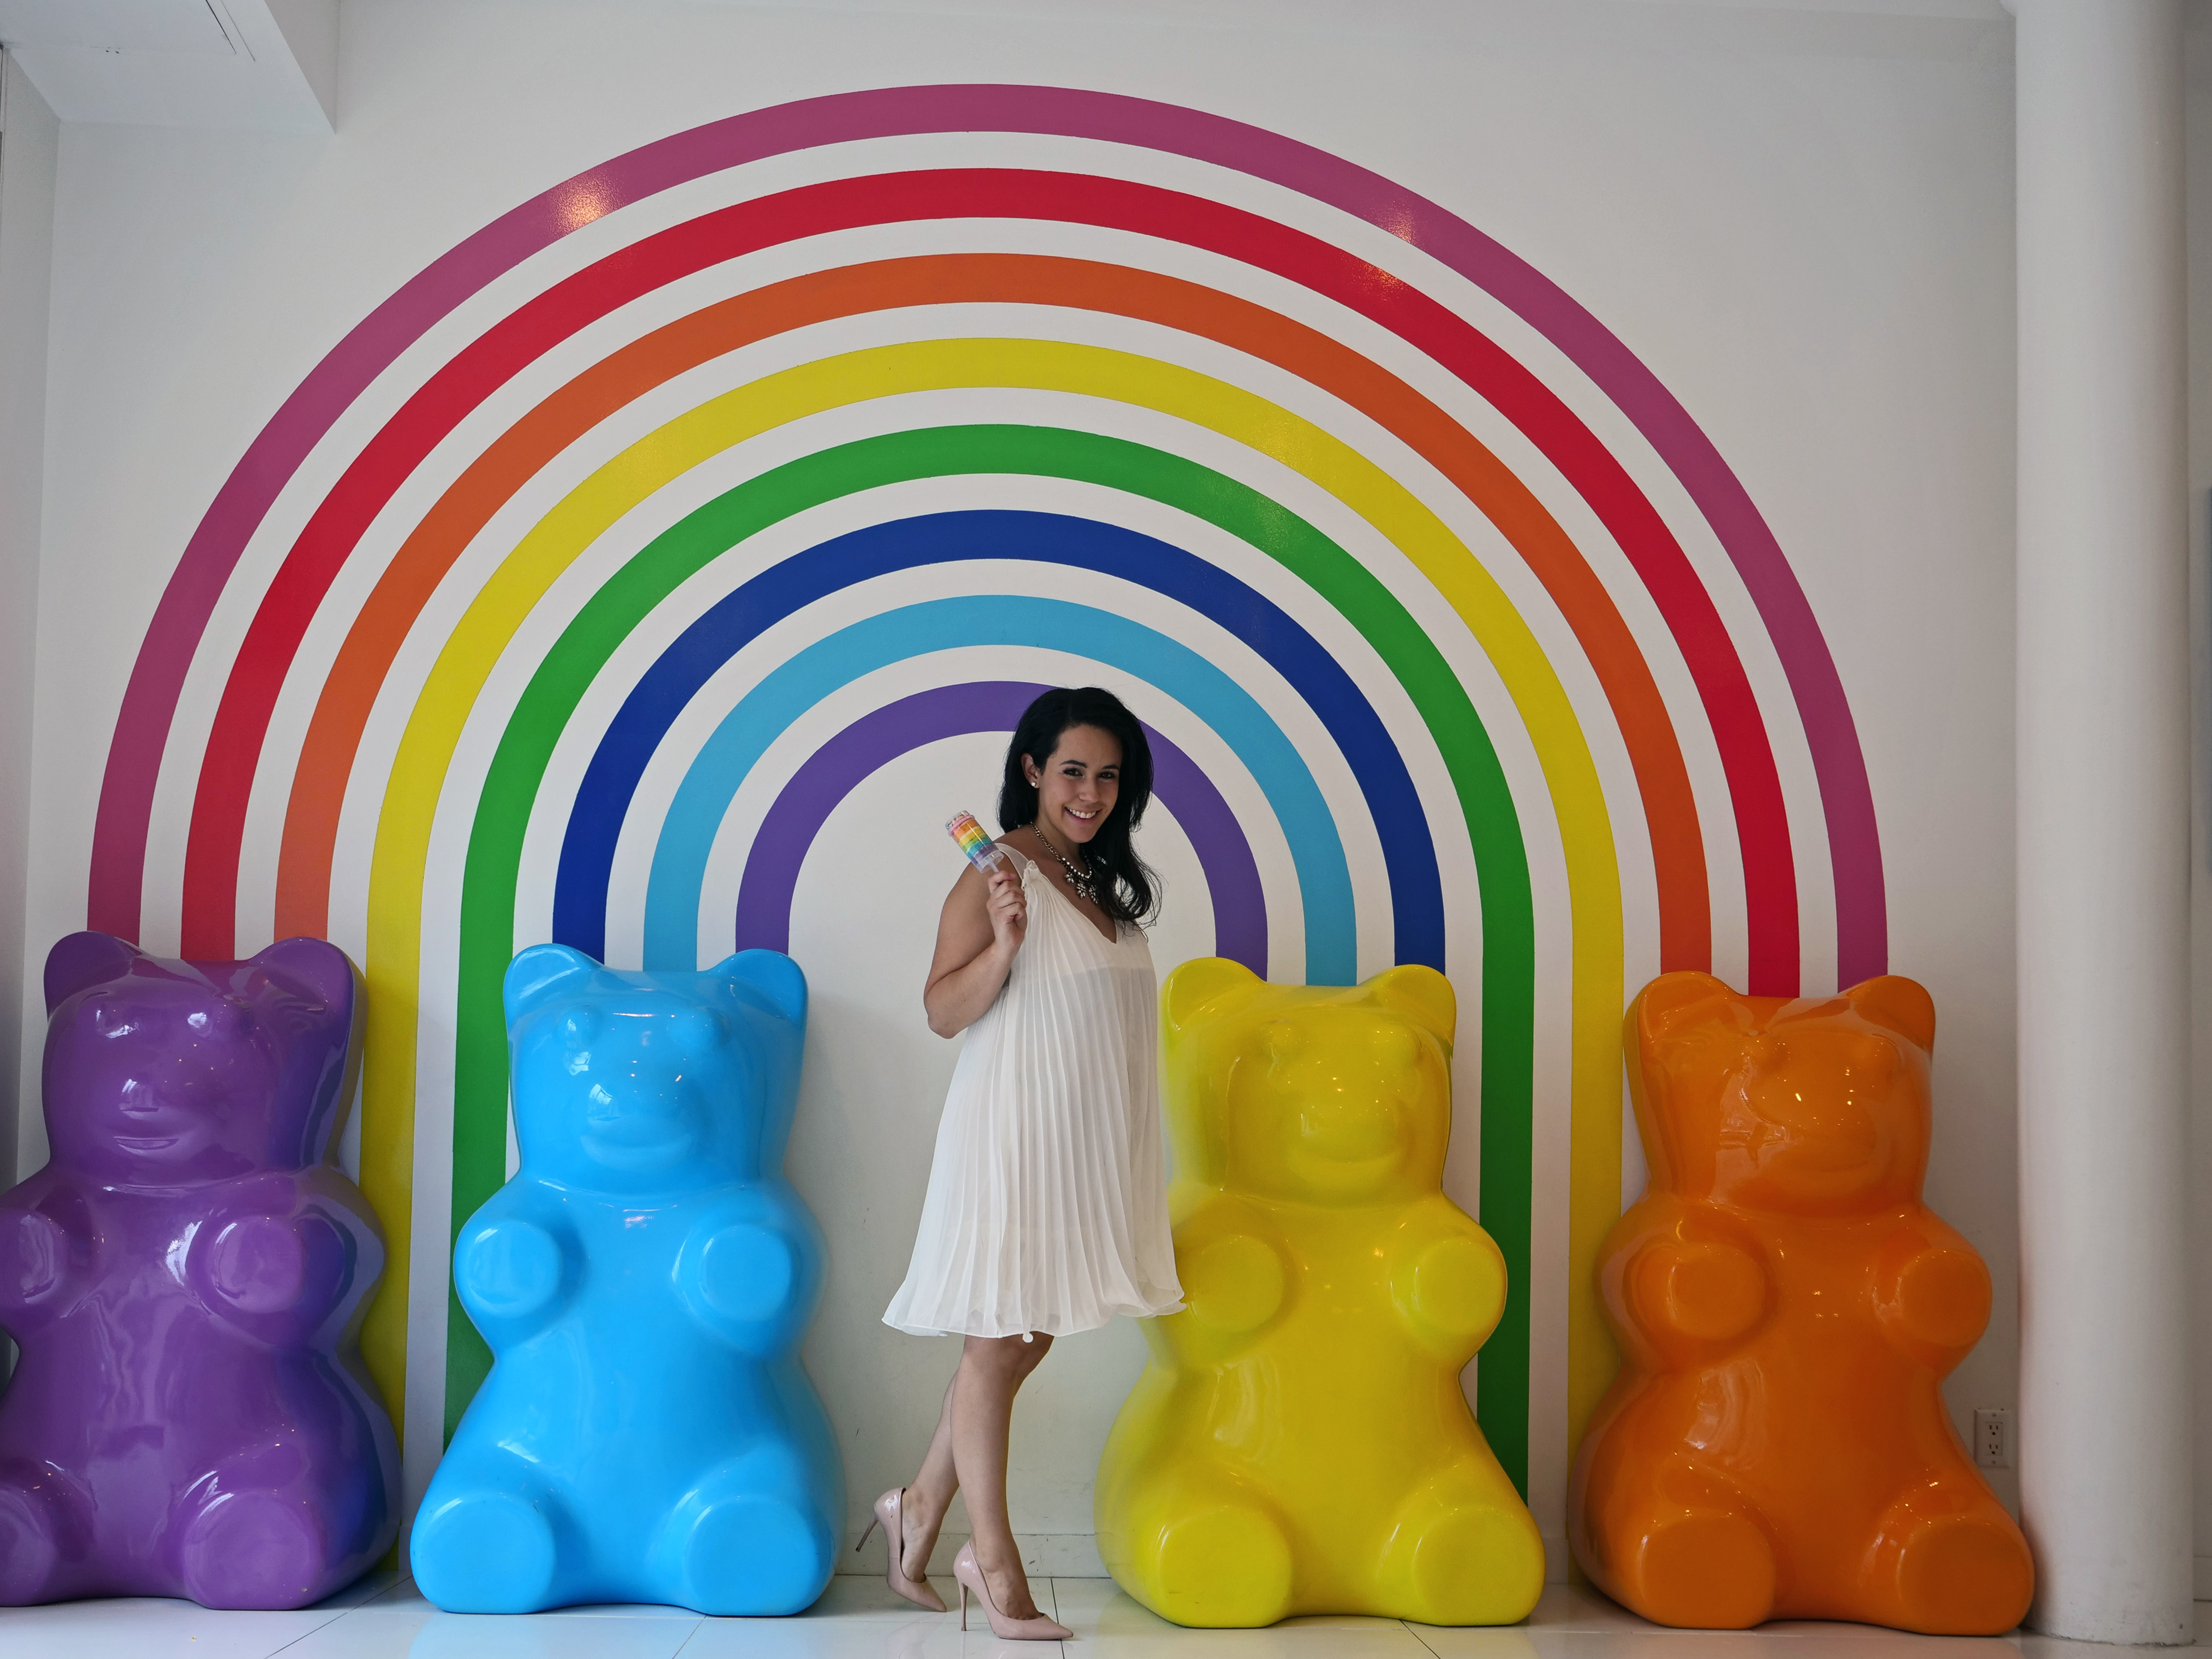
Some of the best stride by moments include matching props. Walk with a rainbow cake pop in front of a rainbow wall or ice cream in front of an ice cream storefront. Capture a local vendor with an arm full of flowers or produce. Other fun props can include a bike, hat or balloons.
9. Patience:
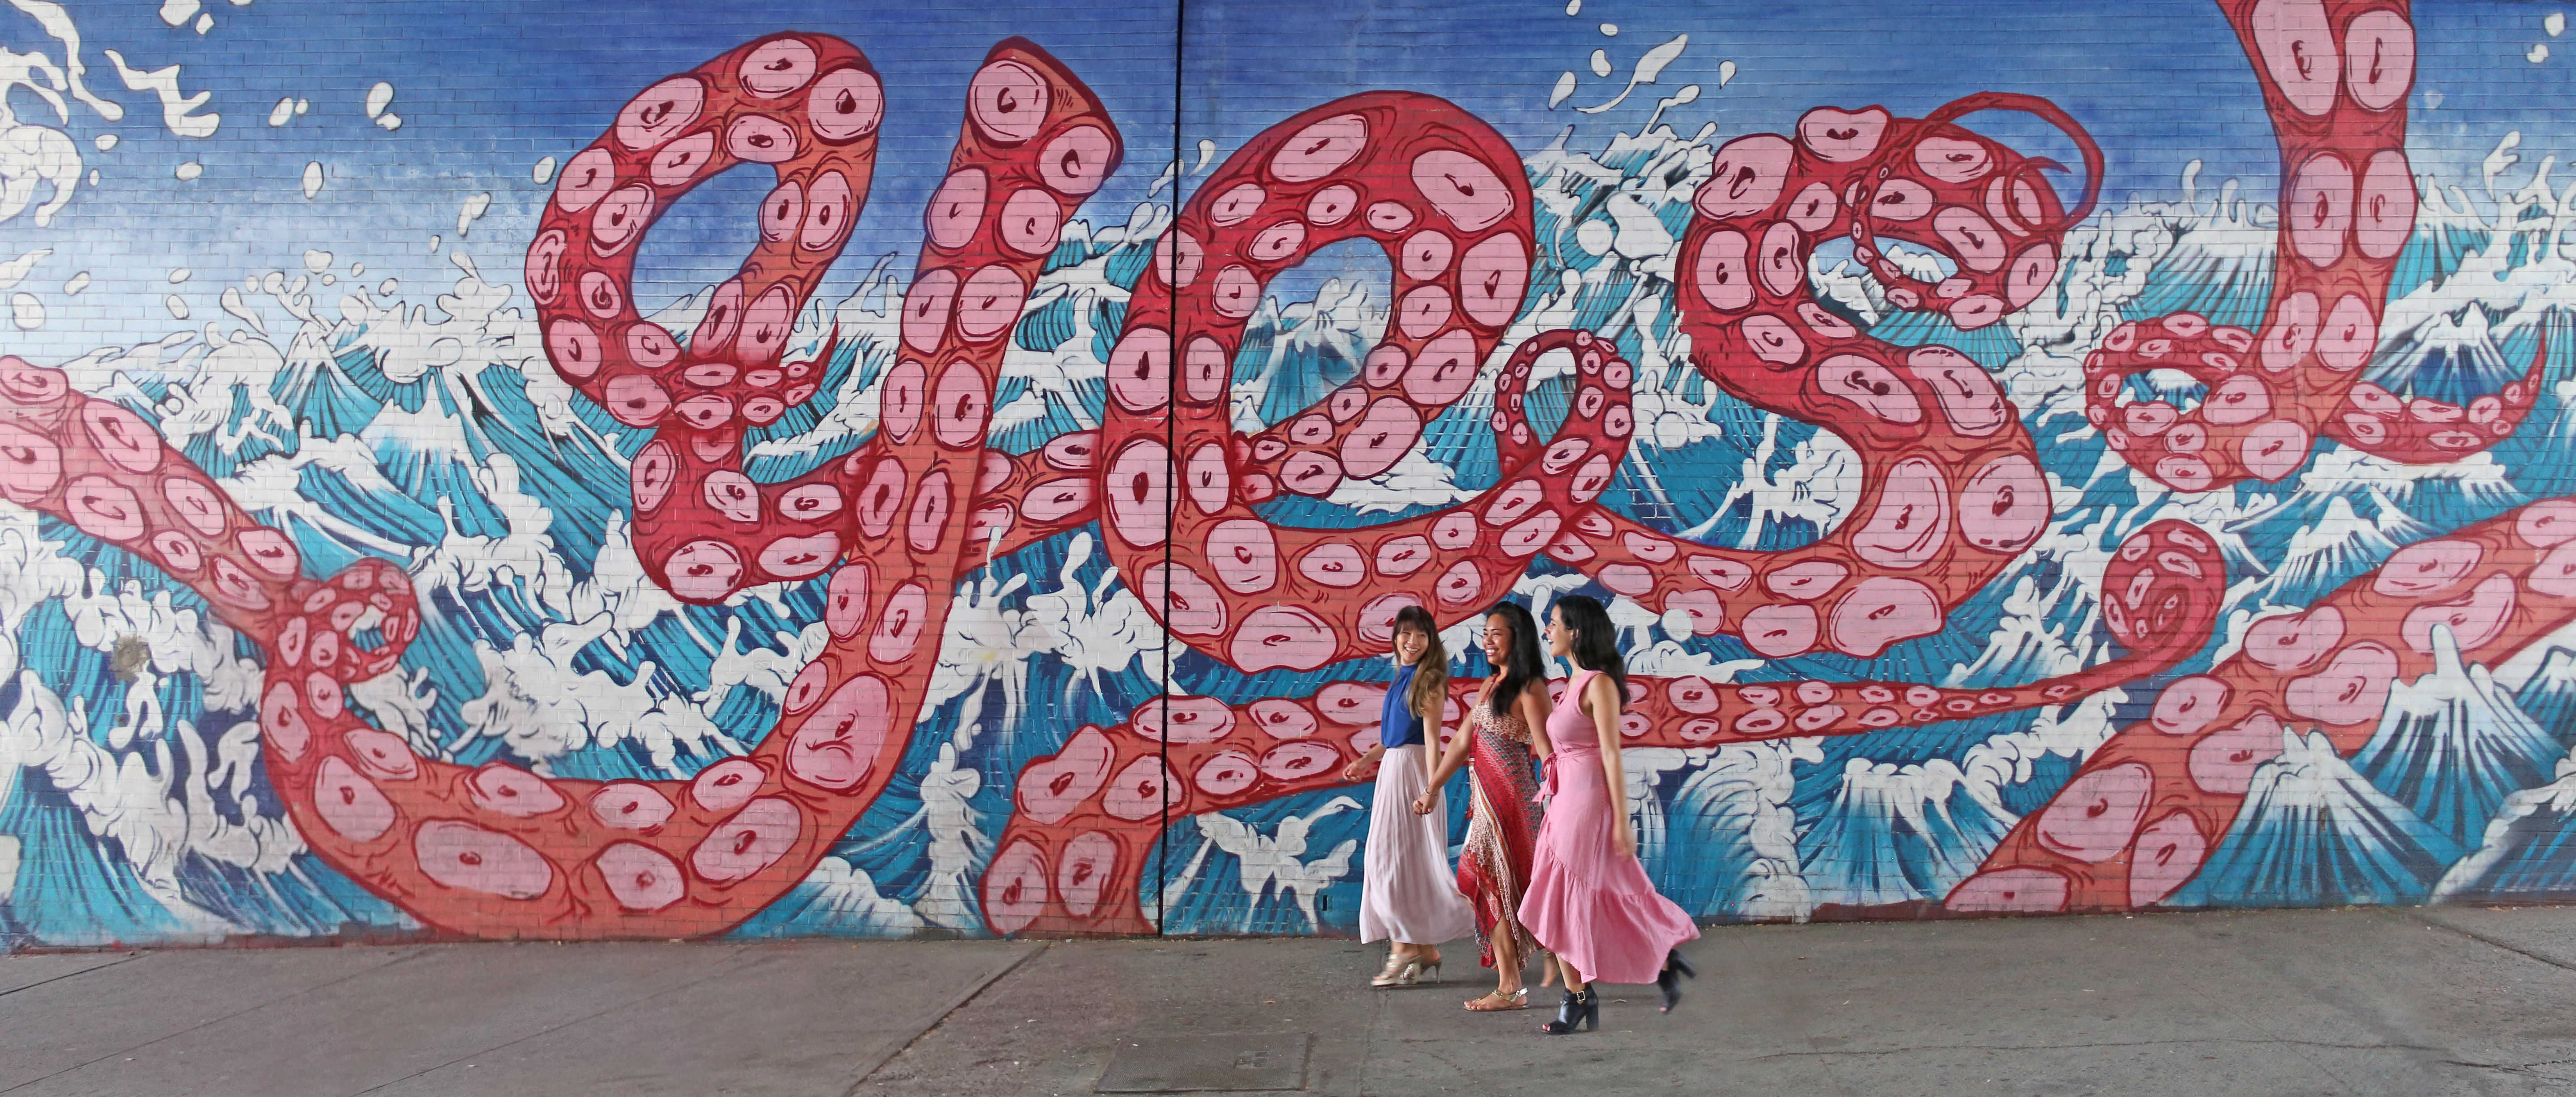
Patience is key if you’re waiting for the perfect local to stride by or you’re capturing a planned shot. Try it a few times until you get it just right or have a few options to choose from later!
10. Interact:
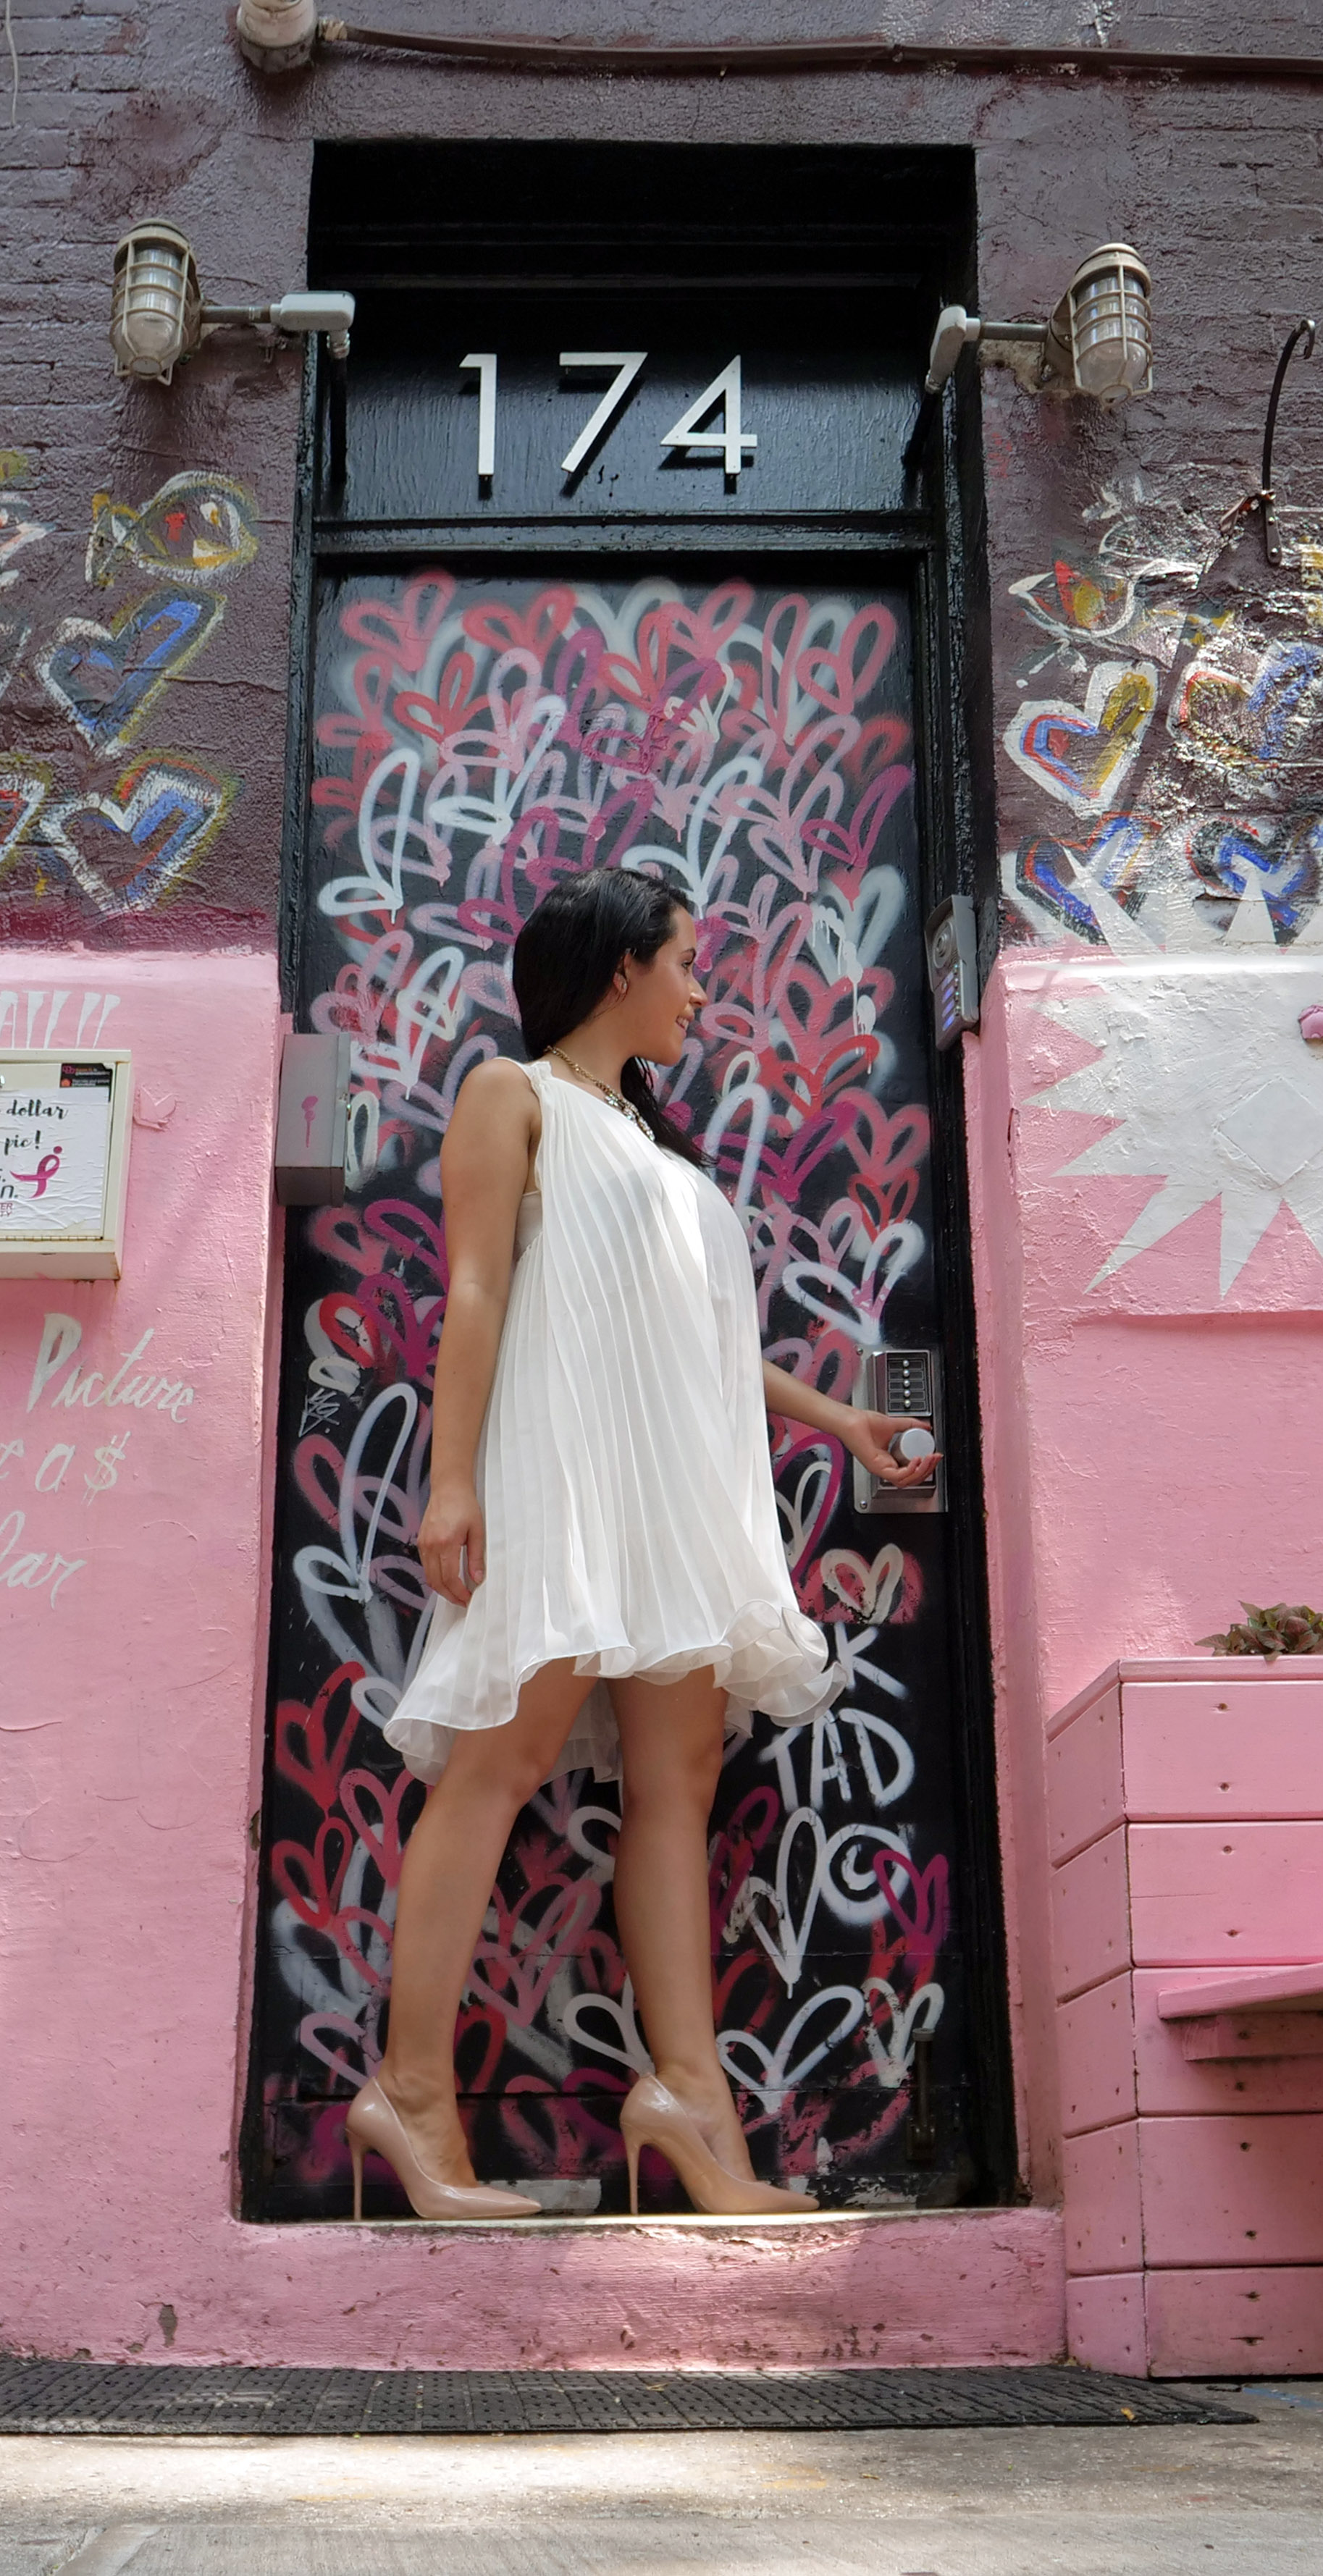
I know what you’re thinking “this is about the stride by pose,” but there are also so many other ways to interact with a mural. So get creative, interact with the physical space or design or if there’s a door, pretend to open it! Take a more playful leap or jump over something in the scene.
11. Editing:
Lastly, please do not over edit it! Colorful walls usually do not require too much editing. I believe street photography looks best with organic and realistic colors. Some photographers prefer street photography with decreased saturation or in black and white. My favorite stride by shots look like a #nofilter!
These are simply guidelines for taking a great stride by shot, but as with all street photography, you must adapt to the scene and embrace what happens. So grab your camera, get lost and capture some unique street art shots. If you share a stride by photo inspired by this post, please tag #TheTravelWomen and comment below with a link to your photo! I cannot wait to see what you shoot and share my favorites with you!
Read Next: The Flamingo wall and other Instagram spots in Chicago! and Best phone apps to edit Instagram photos
PIN IT:
